
Yay layout for HIP KIT CLUB
Tuesday, February 26, 2019

Hi friends, it's Lisa back on the blog today.
My assignment this week was to make a layout featuring frames, hearts and flowers. Since I'm not a minimalistic scrapbooker and I had already used the frames and most of the hearts included in the kits, I had to improvise a bit. :) But this is what I came up with!
So to start I chose the papers (Main Kitand Color Kit) I wanted to use together. Then I cut out different and random sized rectangles. Bigger ones and smaller ones. I chose the ones that I was going to use as frames and cut out the centre of them with my exacto knife. Then I placed them on my white sheet of paper and started arranging the rest of the pieces in front and behind of the frames to create this random geometrical grid design.

I wanted to include more flowers than hearts in my layout, since I already made a layout with a lot of hearts the week before. But I didn't really had any flowers left in my kits, except that one project life card (Project Life Kit) with tiny pink flowers. So I fussy-cut those out but also needed bigger flowers. So I decided to use a stamp and die set from Vicki Boutin we got a few months back in the color kit.
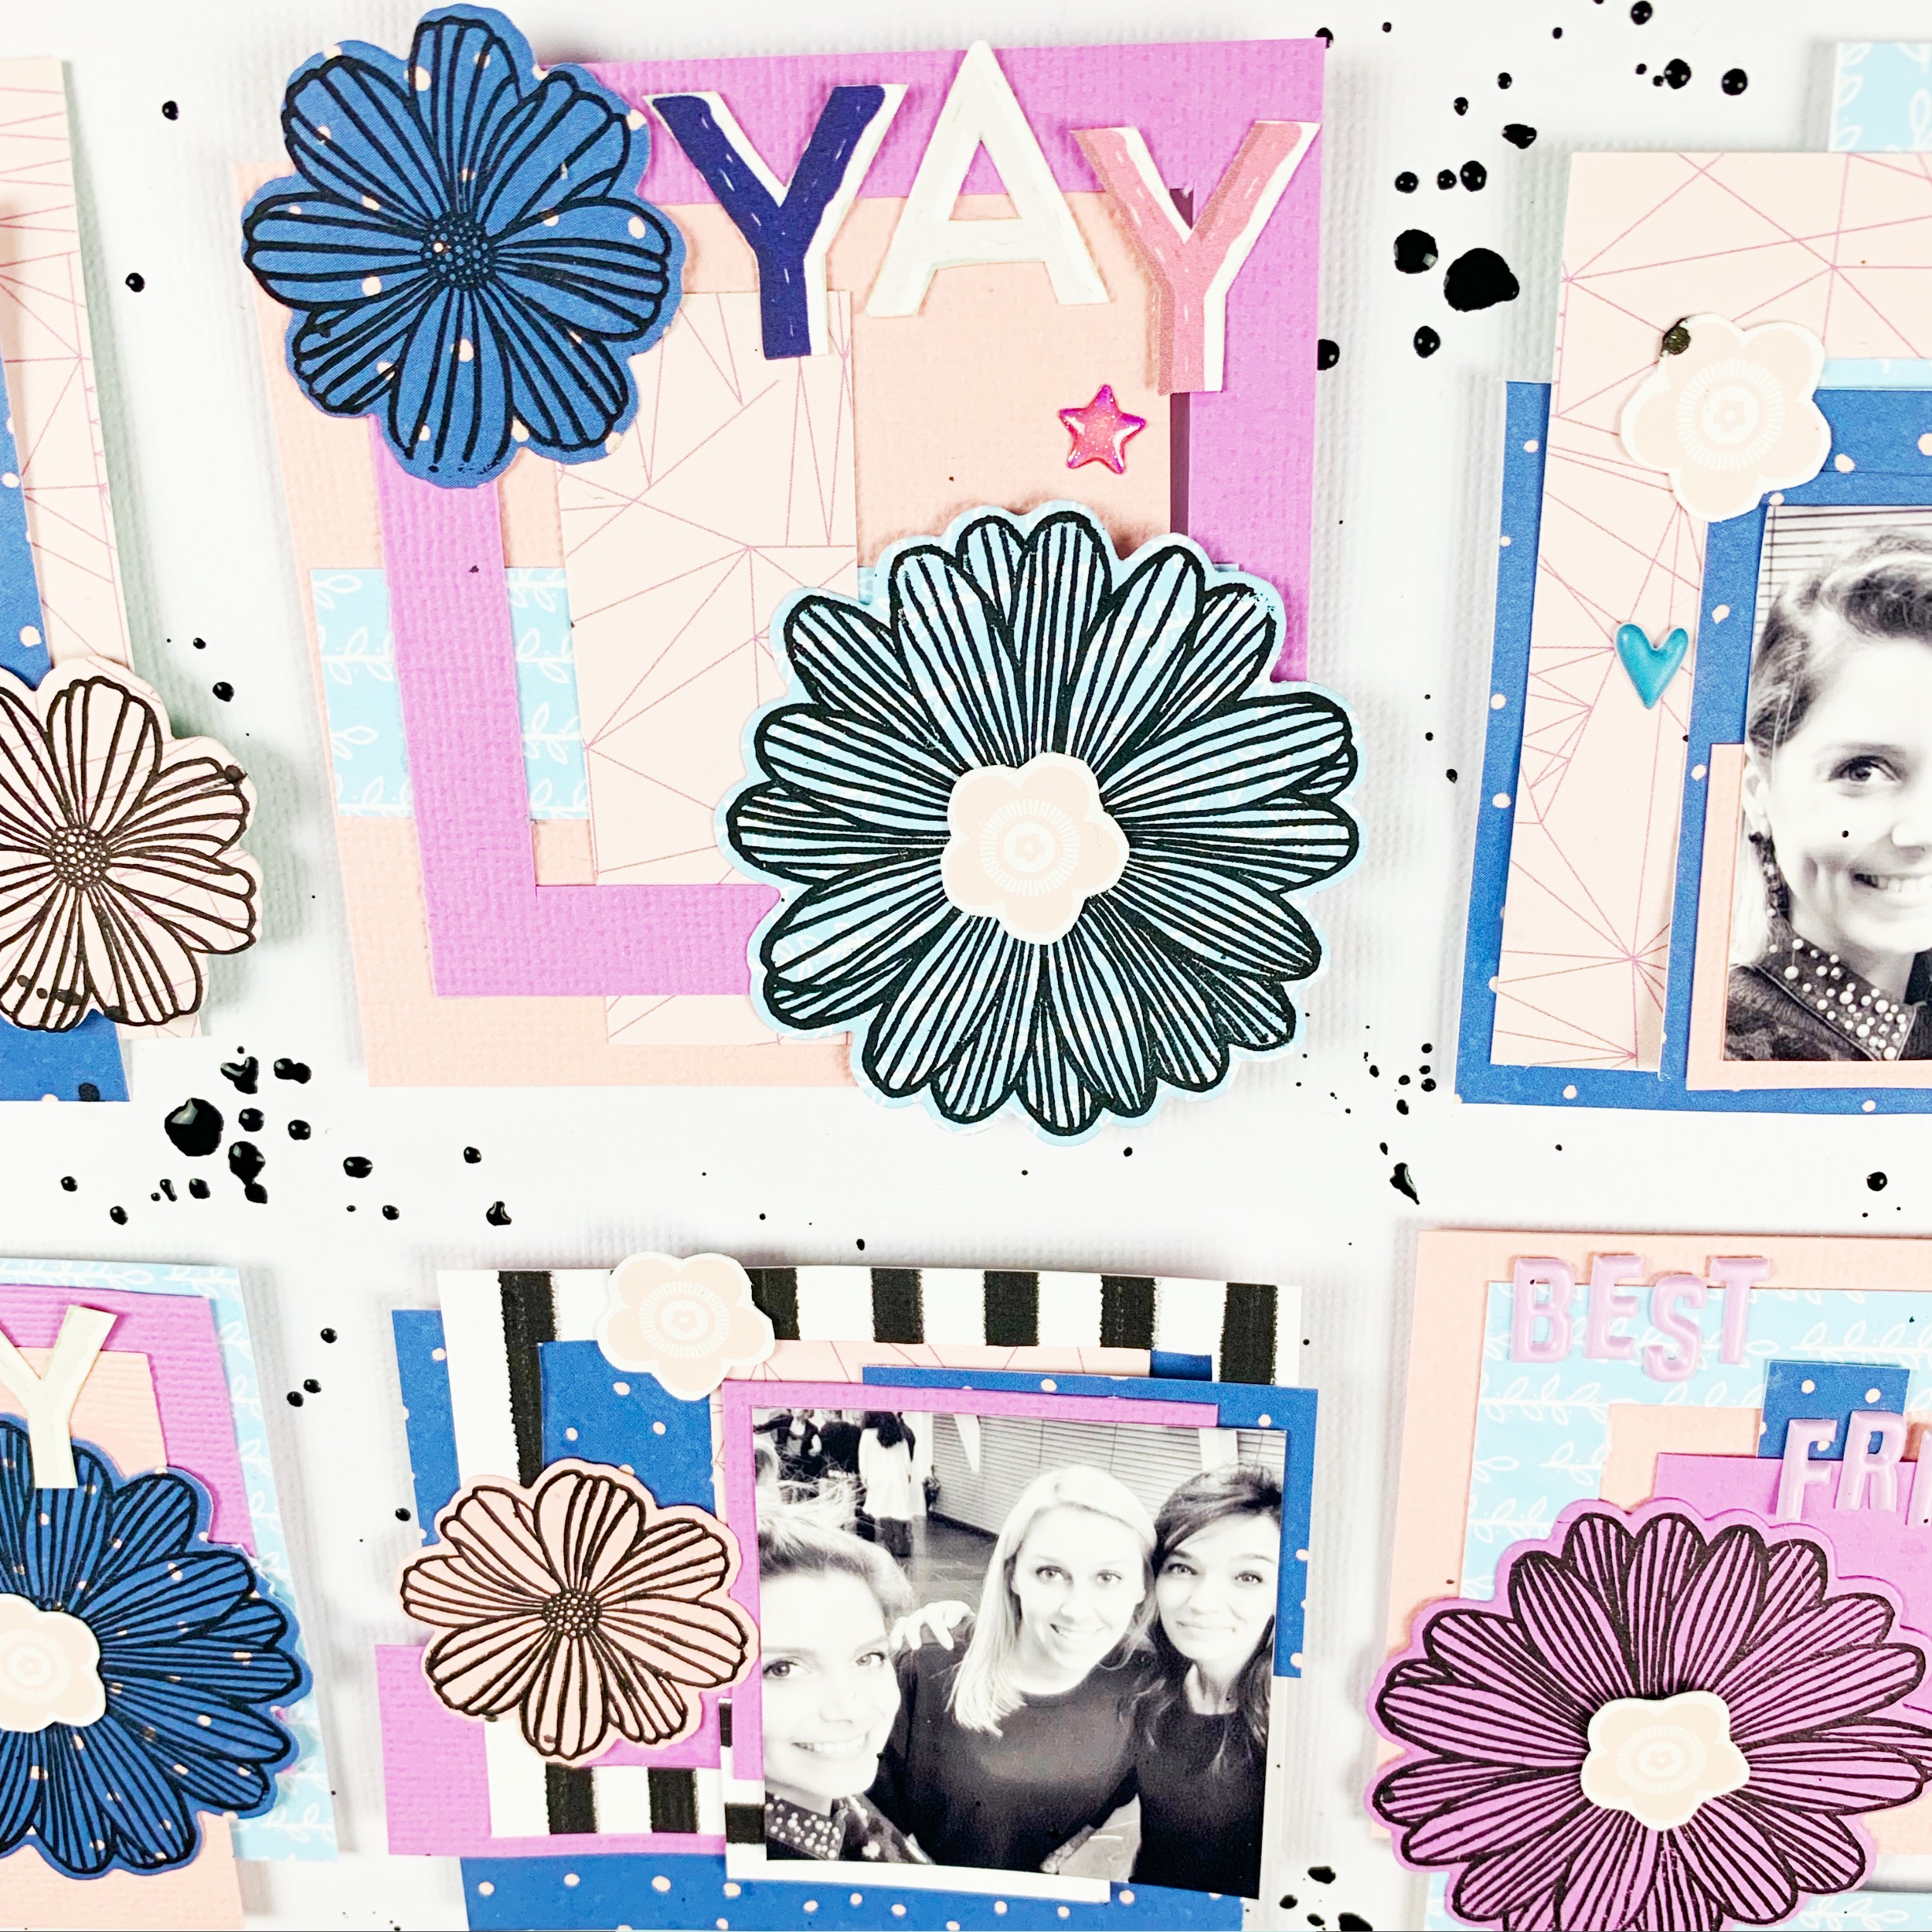
I stamped some big and smaller flowers and cut them out using the matching dies. Then I arranged them on my layout. I also put one of the fussy-cutter pink flowers in the centre of each bigger flower.

I really love how those blue flowers turned out, because they have these tiny pink polka dots all over... really cute :)
As a title, I fussy cut out three "YAY's" out of a Crate Paper patterned paper (Main Kitand Color Kit) and arranged them on the layout. I also used the Pinkfresh studio tiny alpha stickers (Project Life Kit)to write "Best friends" and "Love you".

I had two matching hearts left from the Pinkfresh Studio layered hearts (Embellishment Kit). I took off the little banner on top and also incorporated them in my layout. To finish, I used some more embellishments that matched, like the Shimelle enamel shapes (Main Kit) and the Pinkfresh studio puffy stickers (Embellishment Kit). Some black splatters as a final touch and I was done! :)

I hope you like how the layout turned out! :)
Thank you so much for stopping by!
We are crazy layout for HIP KIT CLUB
Hi everyone,
it's Lisa back on the blog today sharing a mixed media layout.
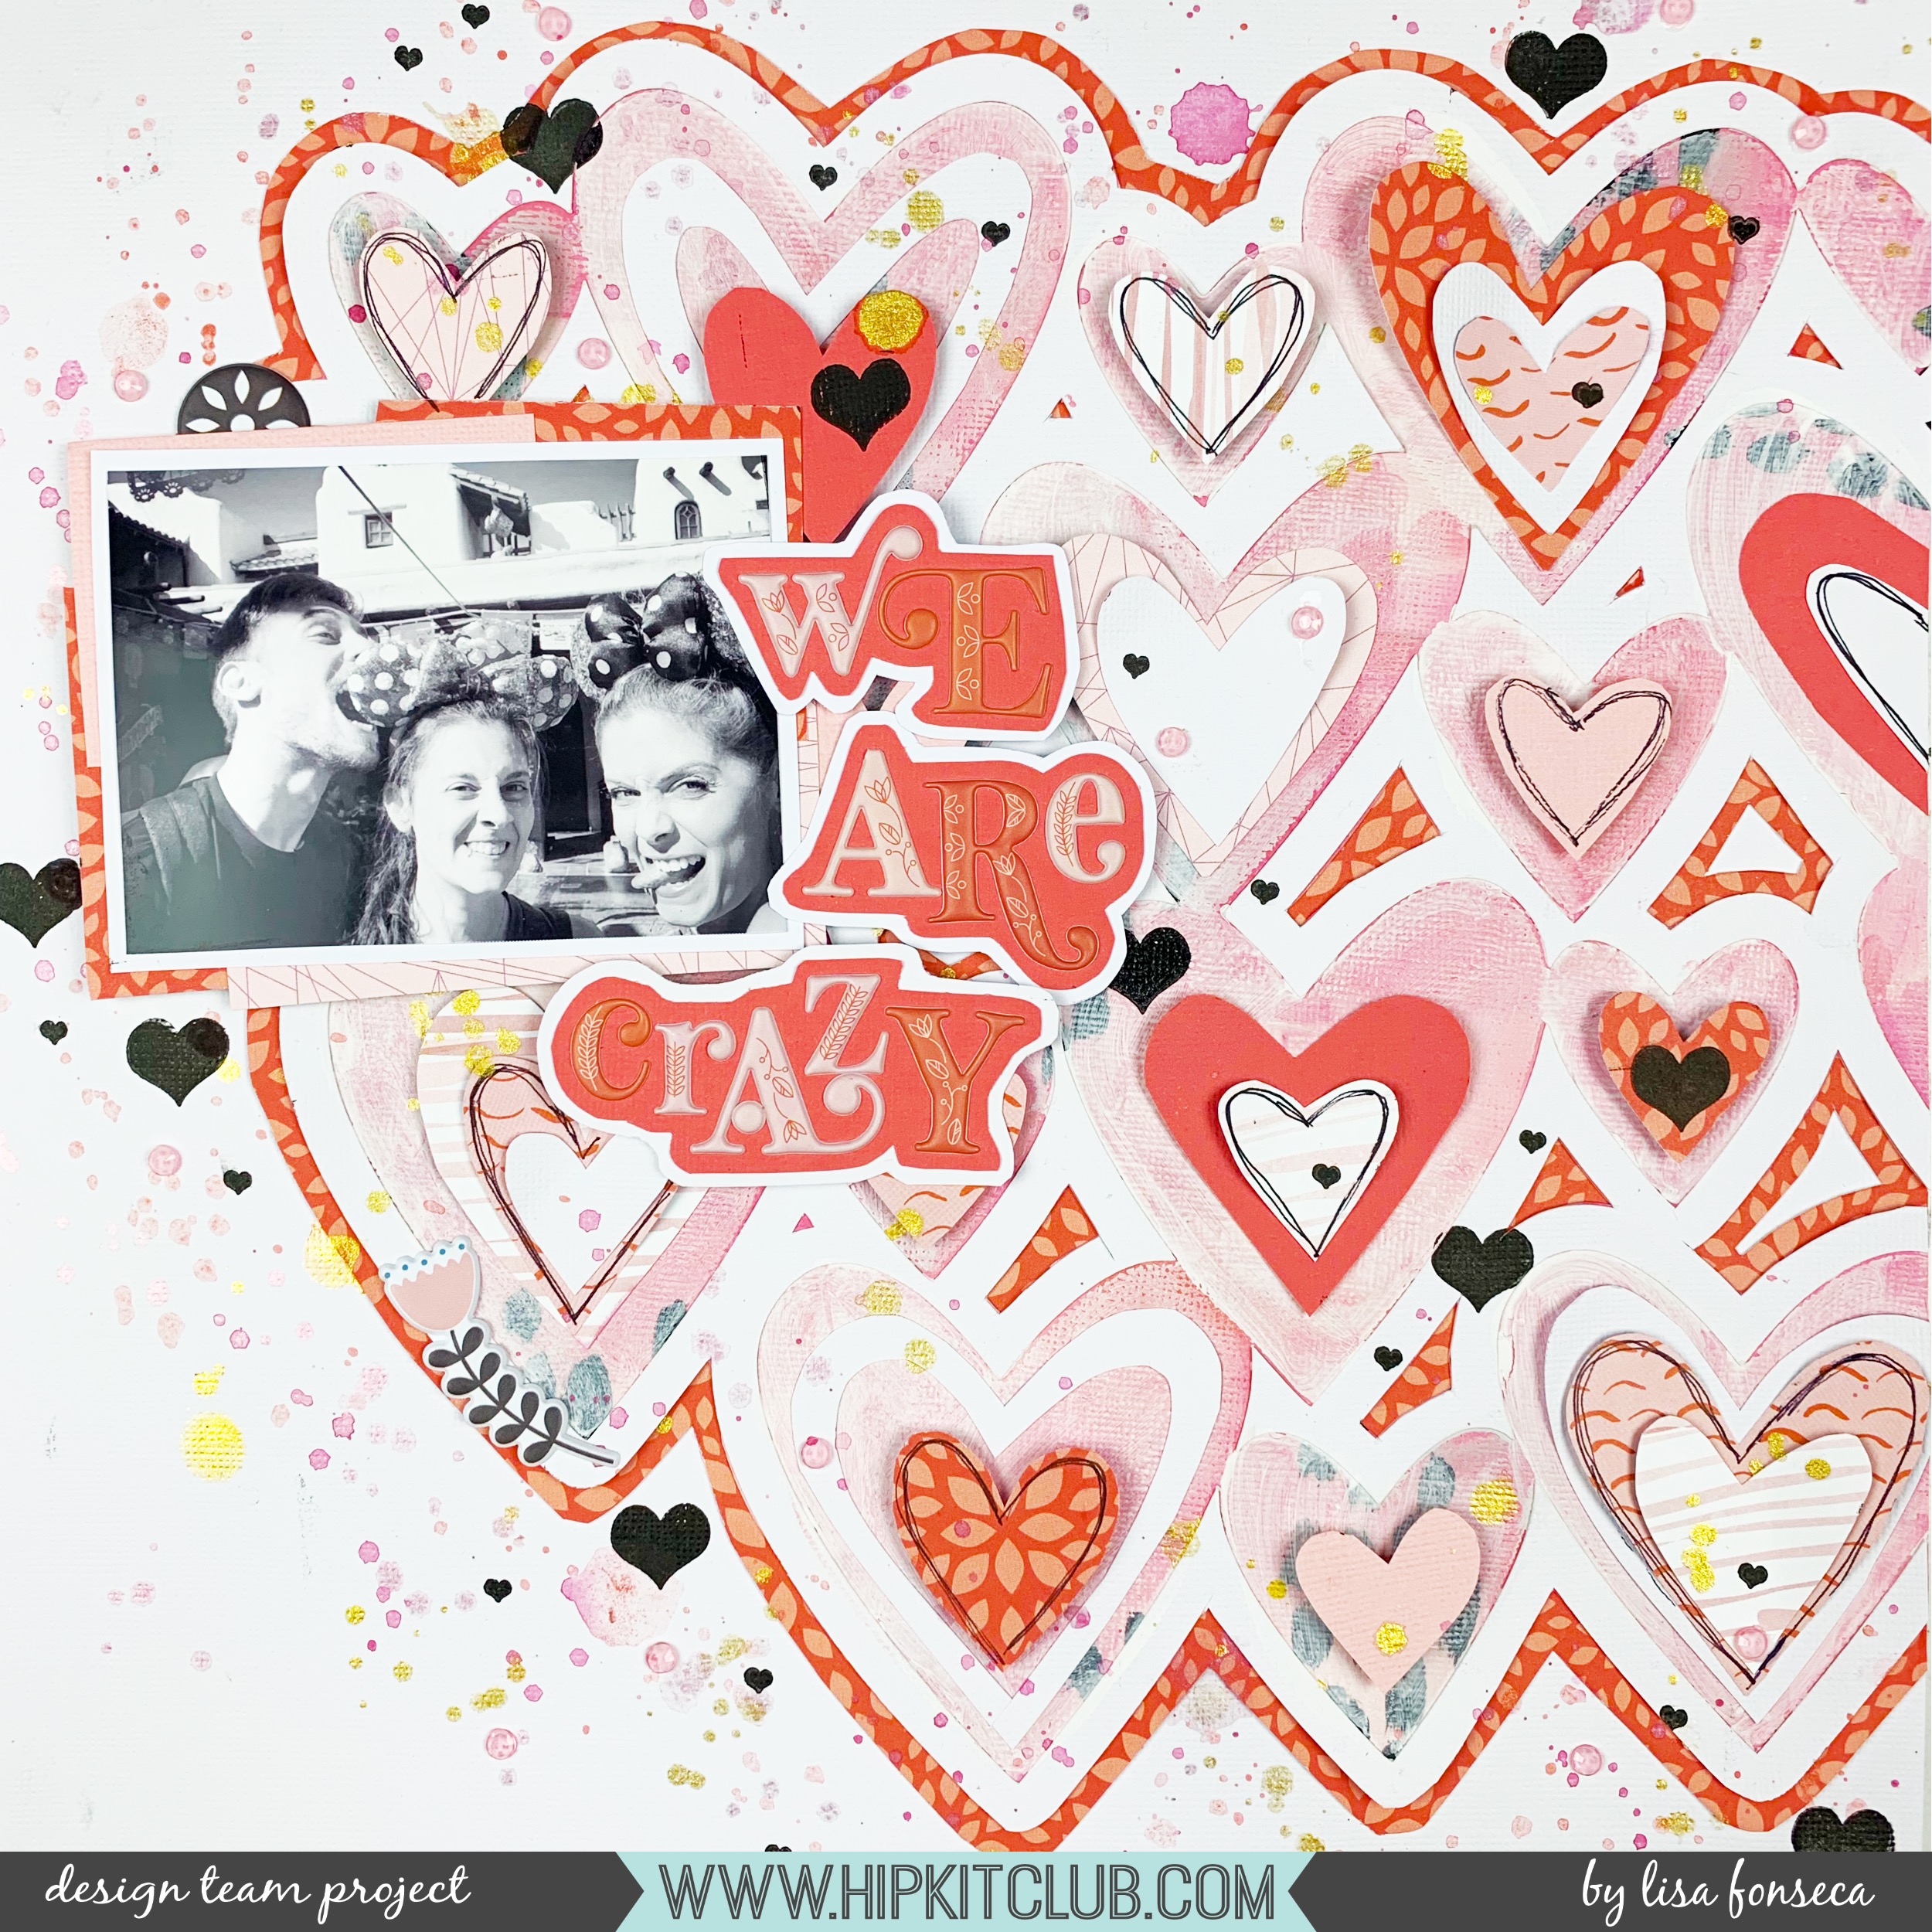
For this layout, I was inspired by a brand strip on one of the patterned papers in the kits.

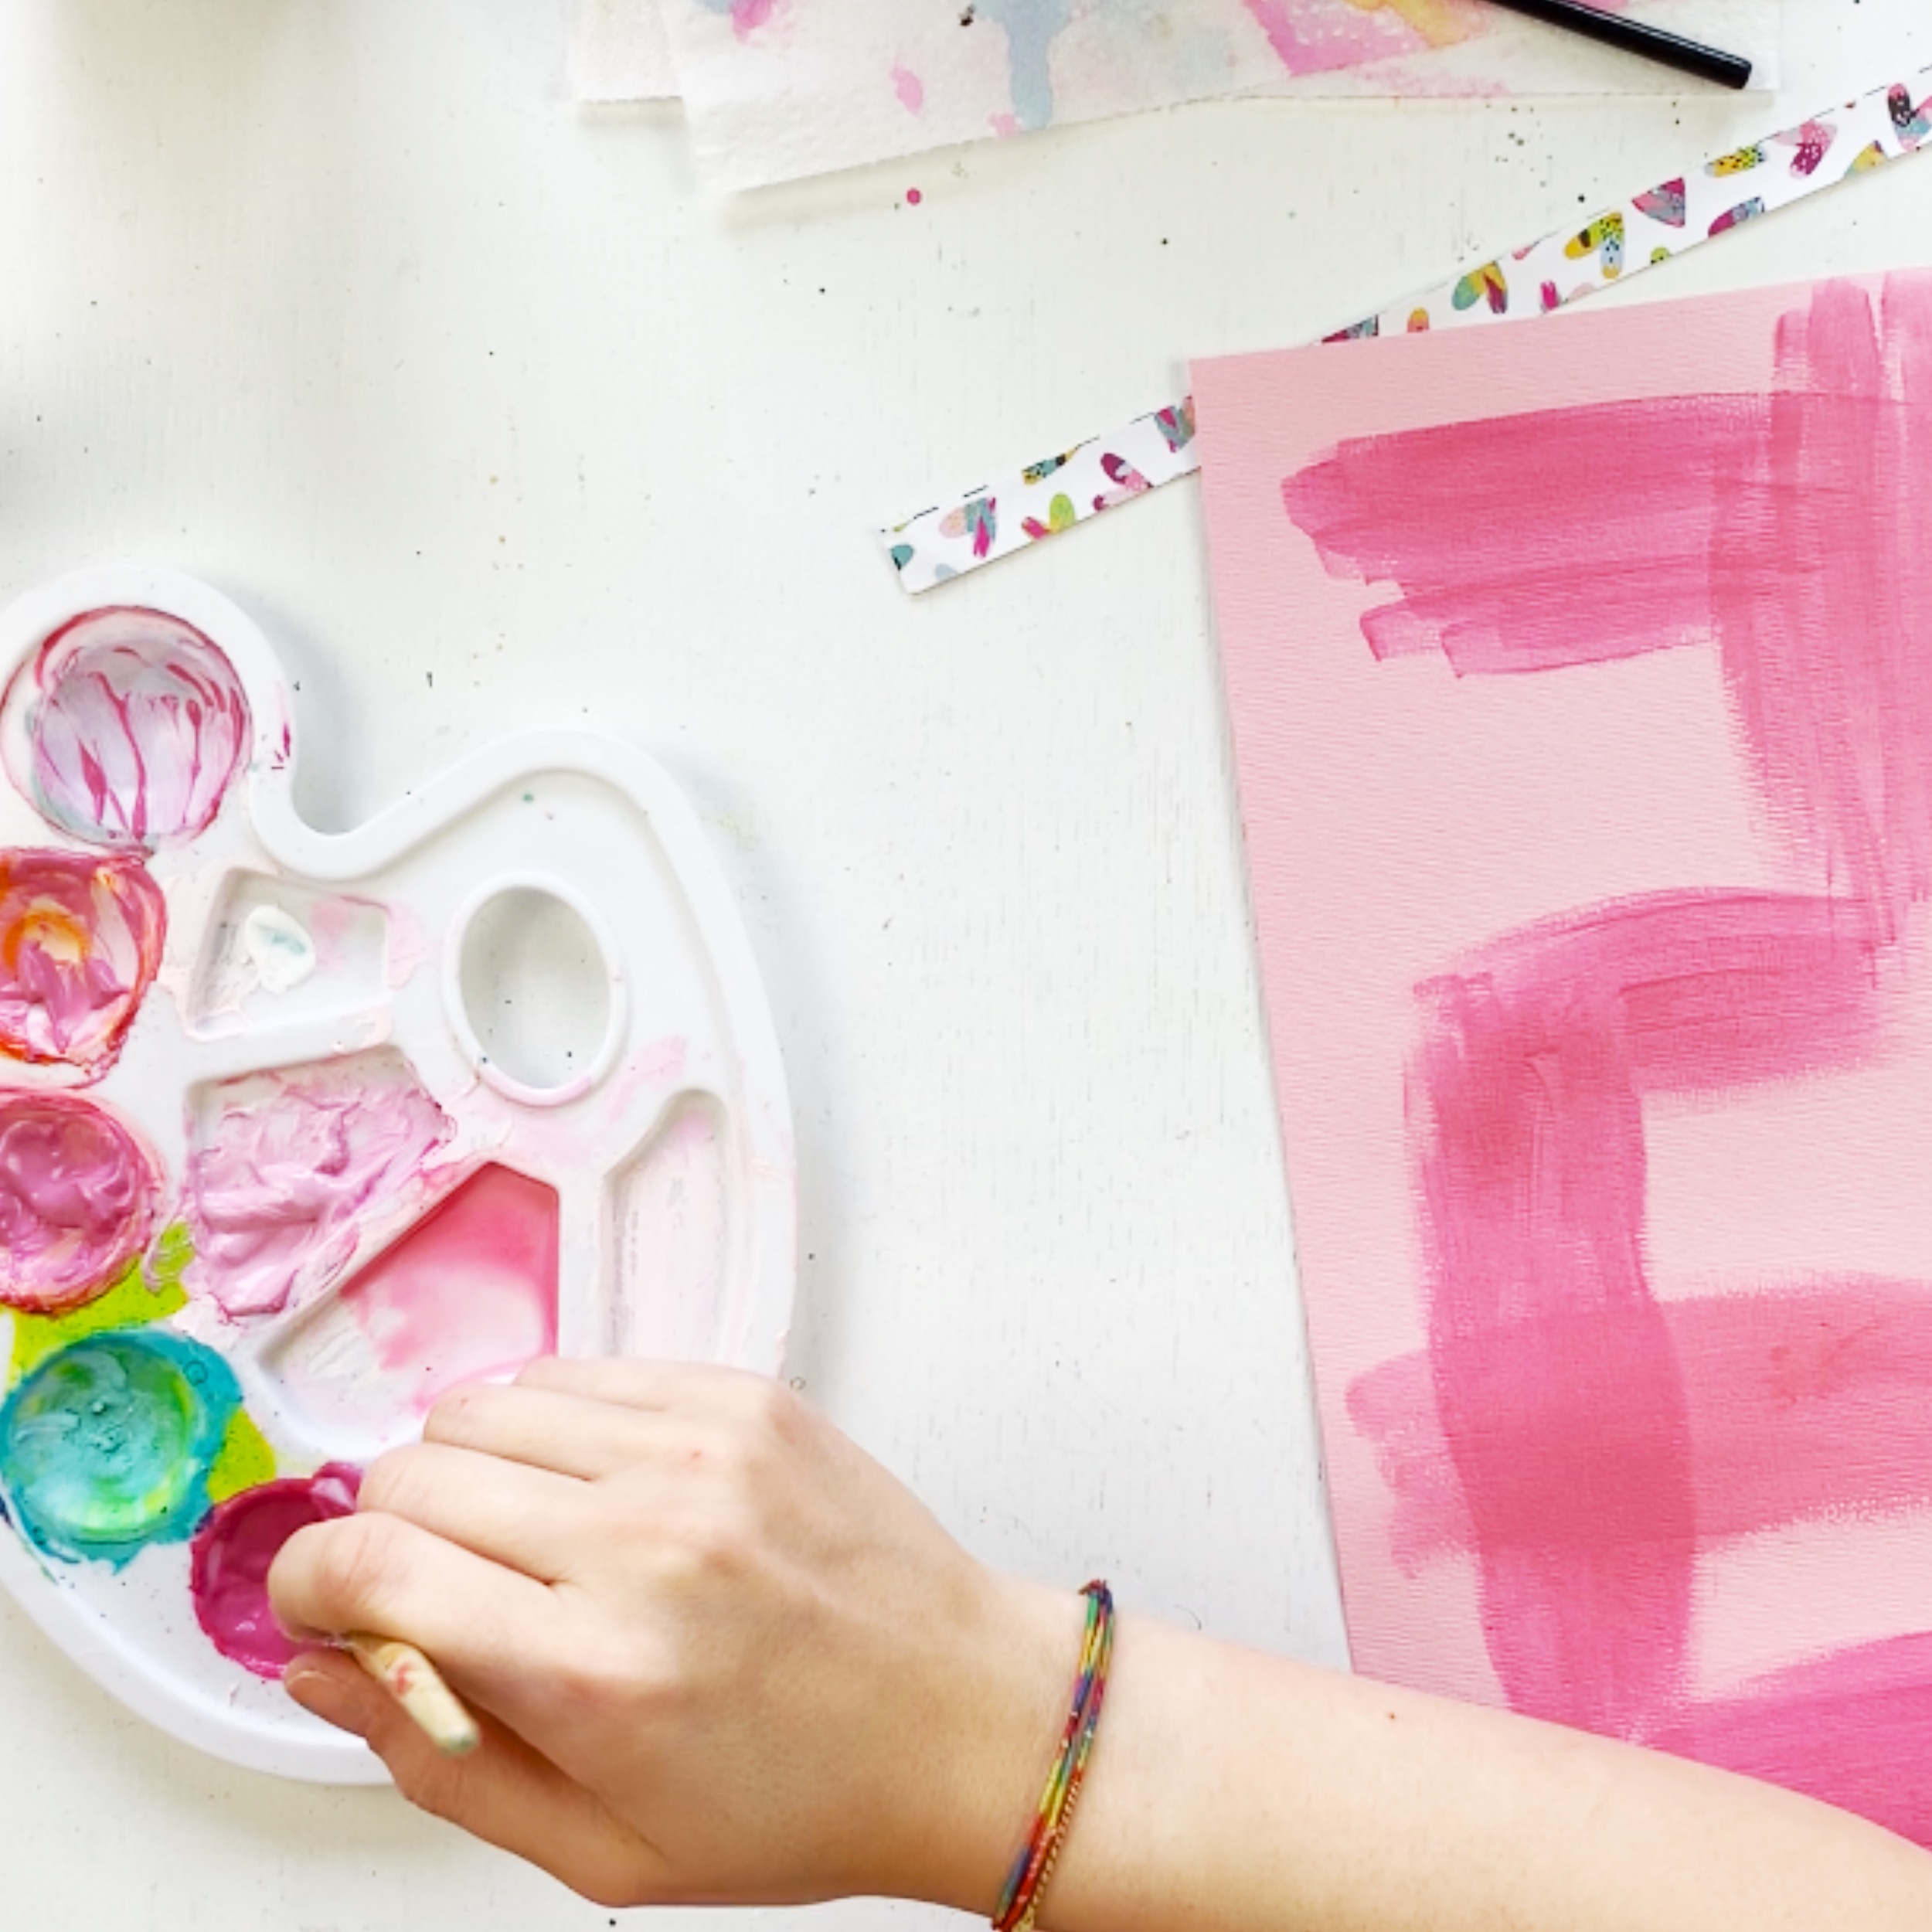
I loved the splashes of color and the little irregular stains on top. So to start, I chose a pink cardstock sheet (Cardstock kit) as a background. I took a palette and mixed five or six different shades from the same color. I mixed the Wild Raspberry Color Mist with the white texture paste (Color Kit), using less and less color mist for each mixture, so that I would have a dark color, a light color and some shades in between.
Then I started spreading the different tones on my pink sheet in a random way.
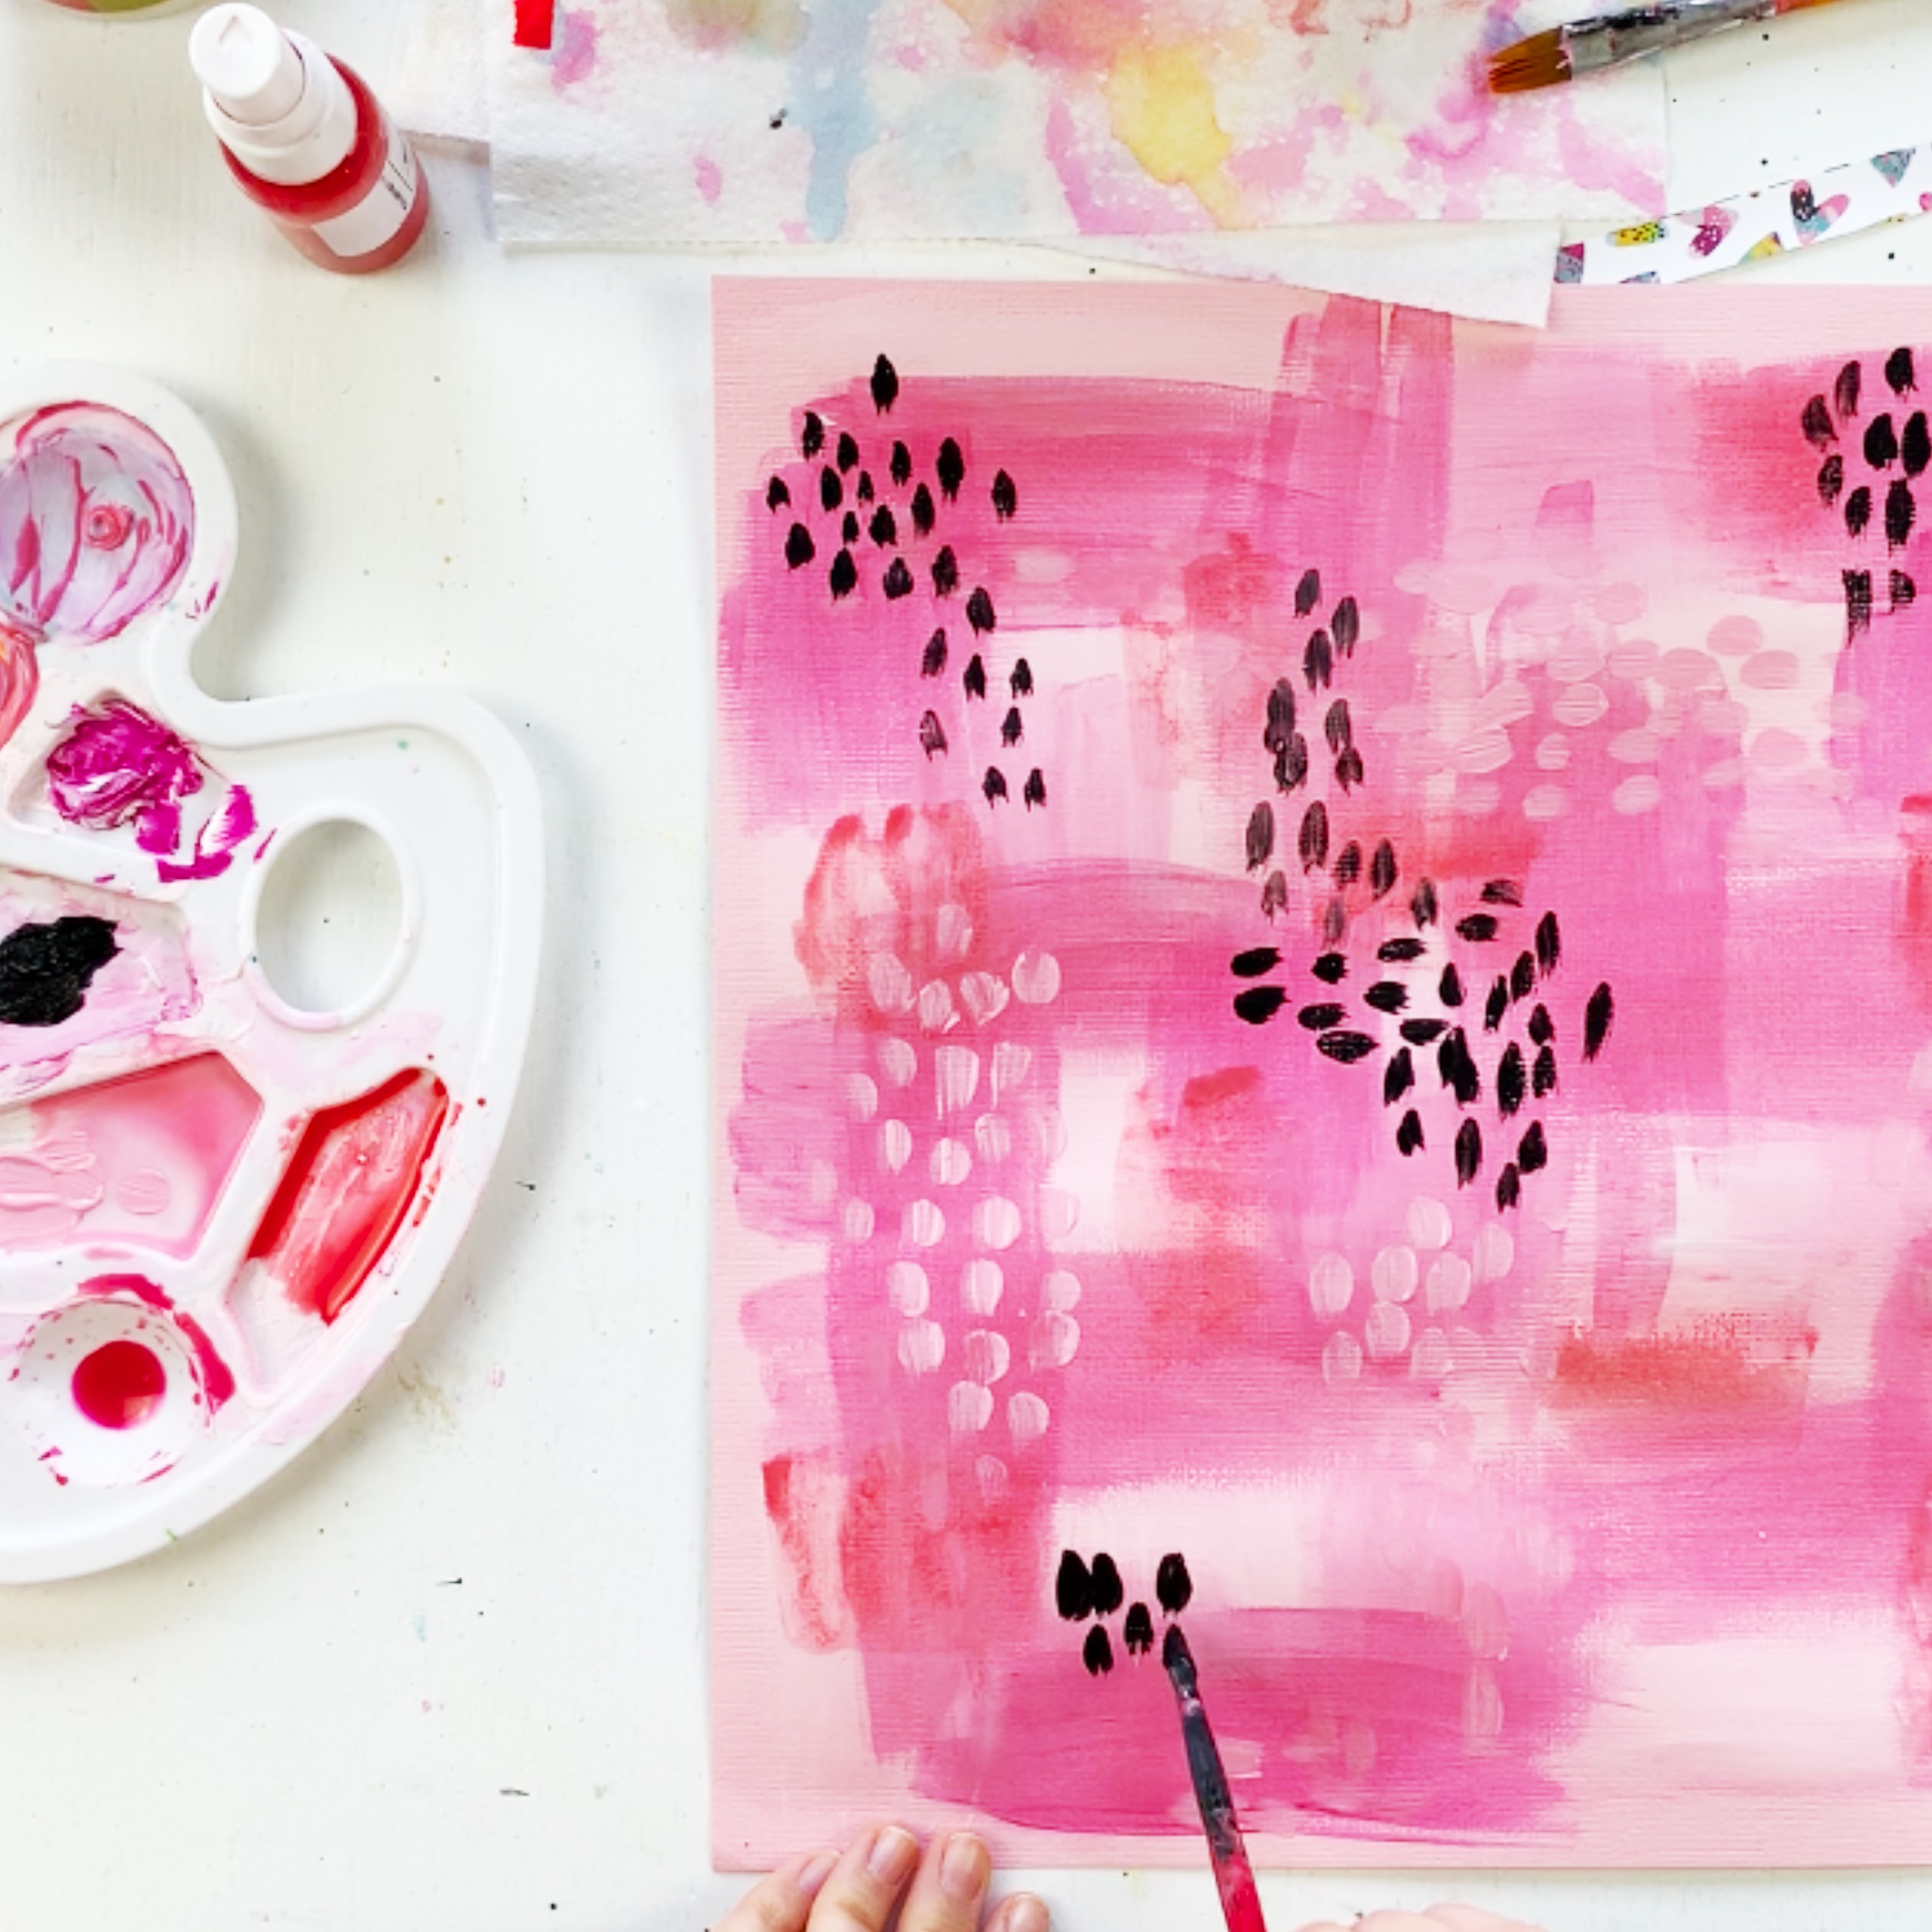
I also used some red Shimmerz spray at the end. Then I used one of the pink shades and some black paint to make those little stains in some places.
When I was done and everything was dry, I placed an exclusive cutfile over the whole thing and cut out around it, so that only the hearts of the cutfile would be backed with the paper I just made.
I chose all of the pink and red patterned papers included in the kits (Main Kitand Paper Kit)and started hand-cutting hearts of different sizes out of them. Then I placed them in the insides of the hearts of the cutfile, layering some of them.
While I was doing this, the background seemed to dark to me, so I took some white gesso and spread it on the hearts using a paint brush and my fingers to have an ombre effect.
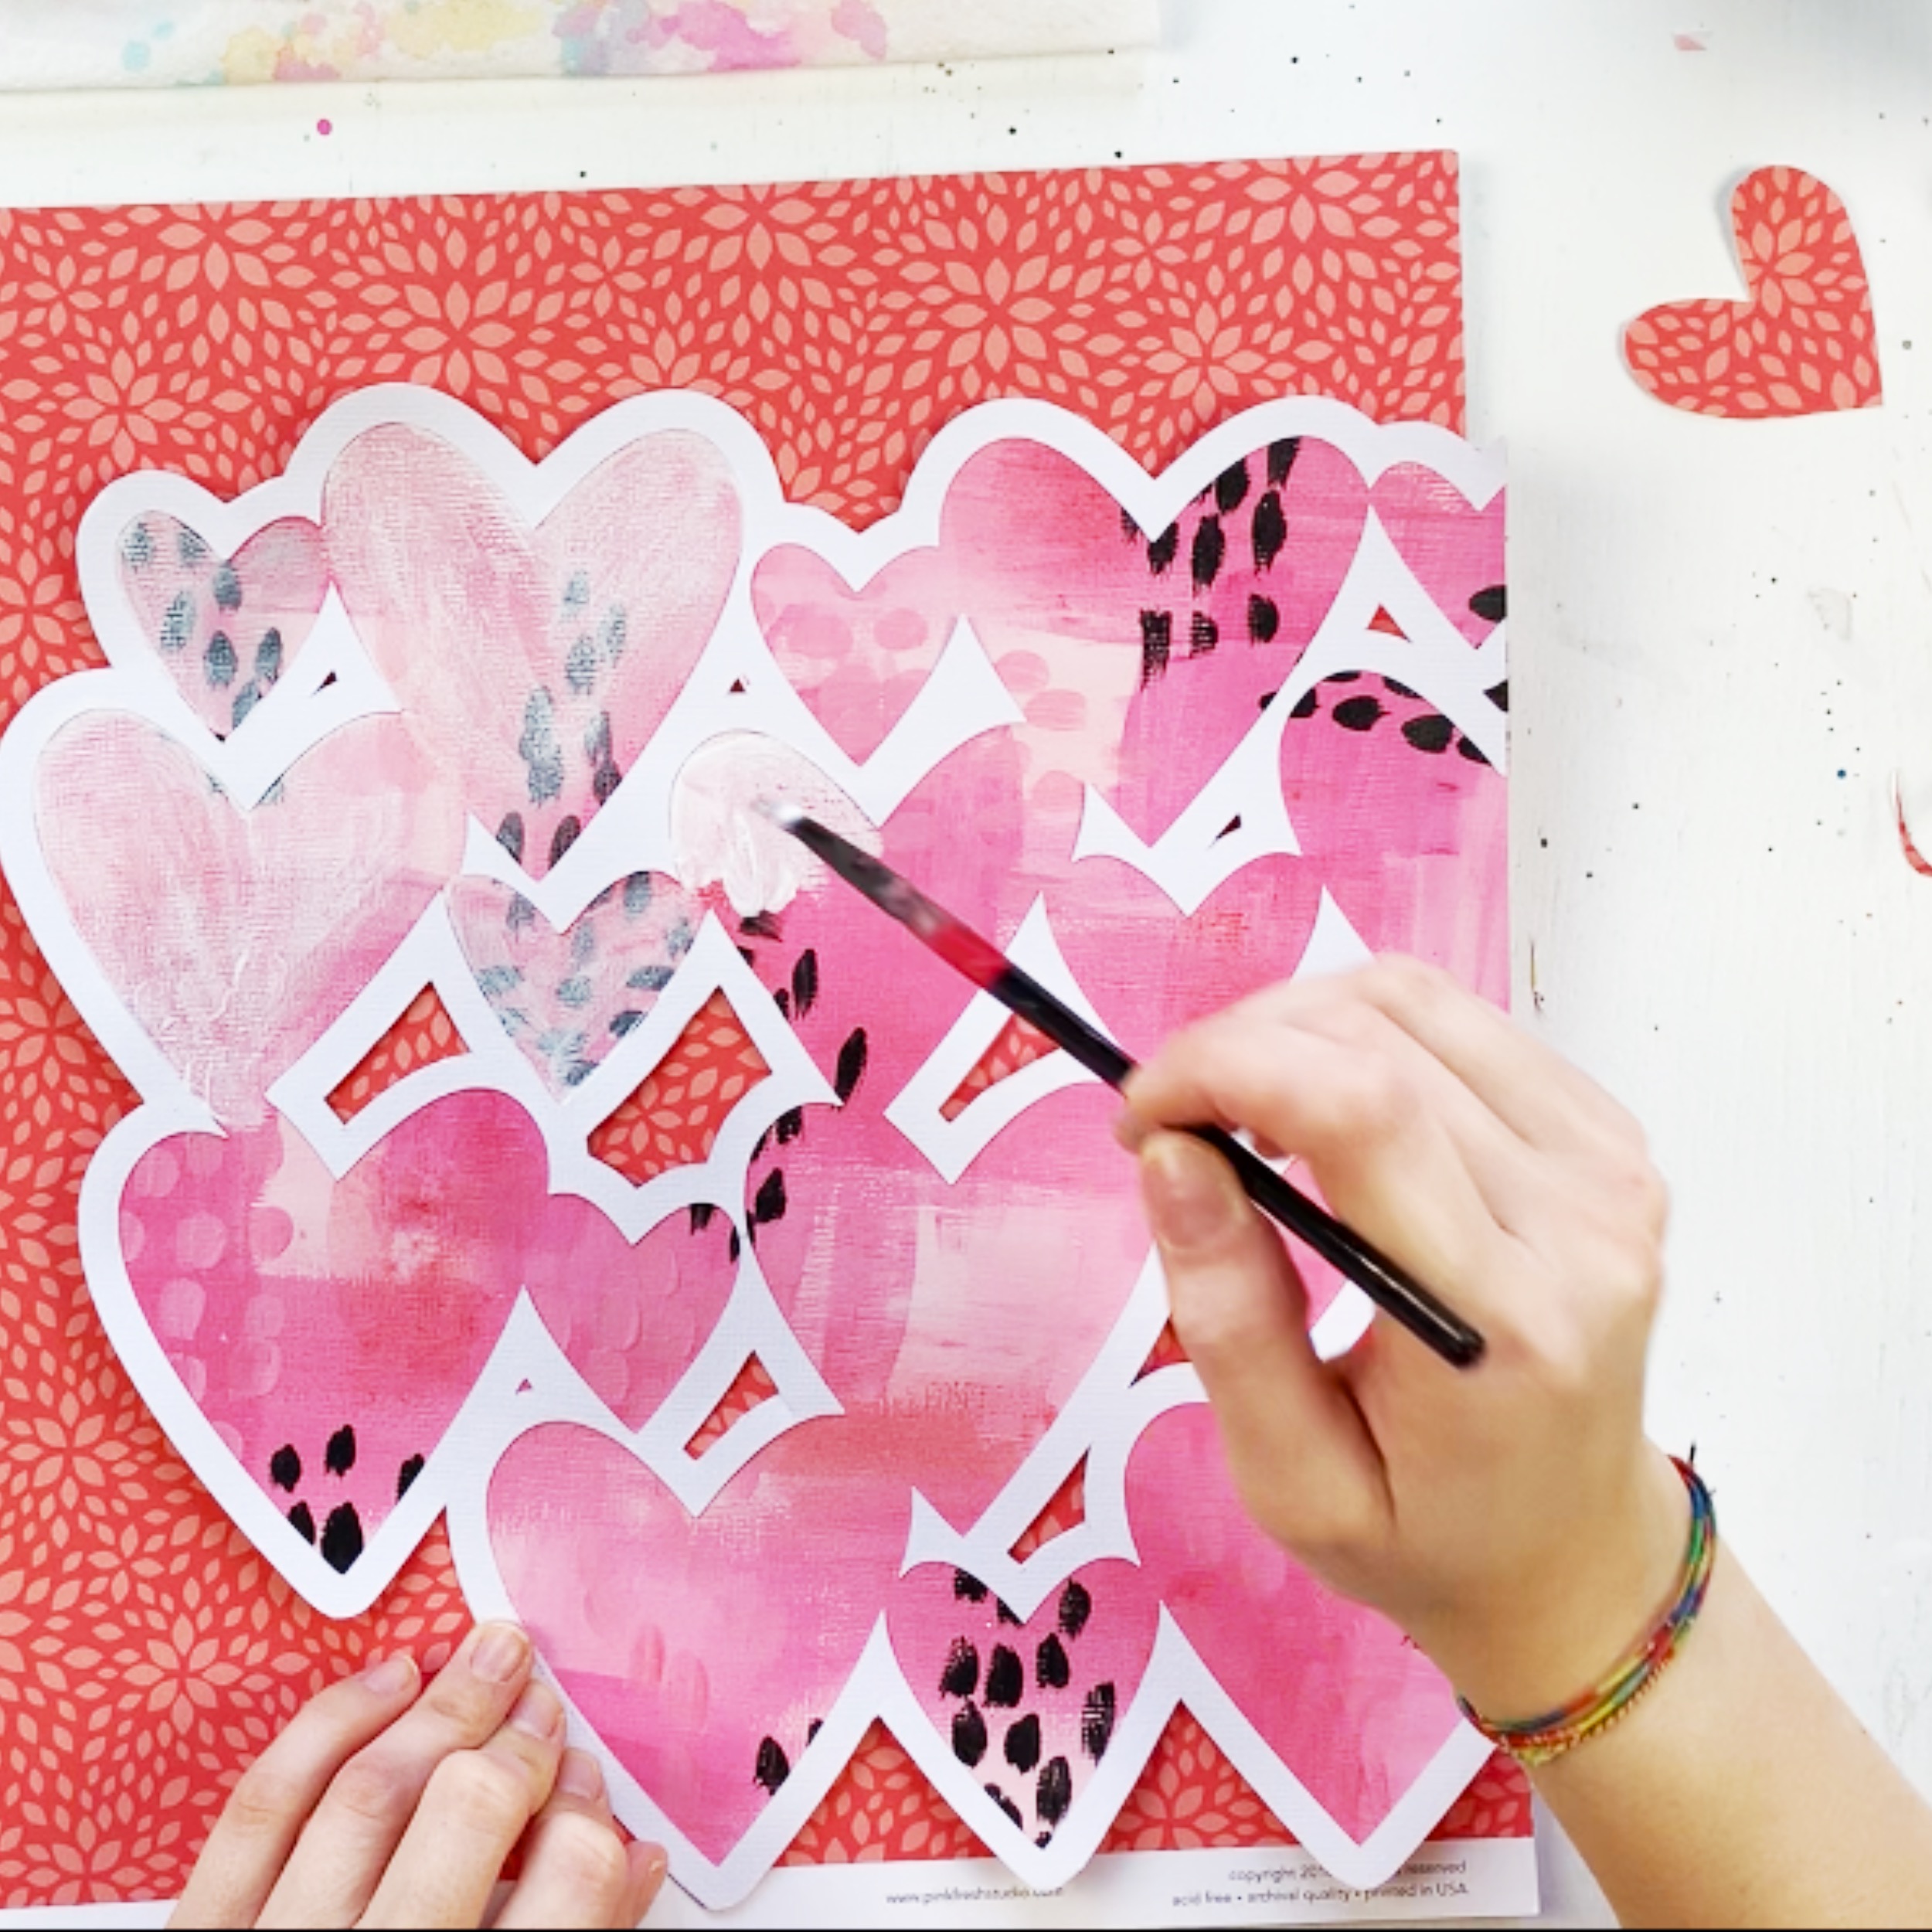
Then I replaced all of the hearts on the cuftile and adhered them down. I also adhered the whole backed cutfile on the red patterned paper and cut around leaving a red border.
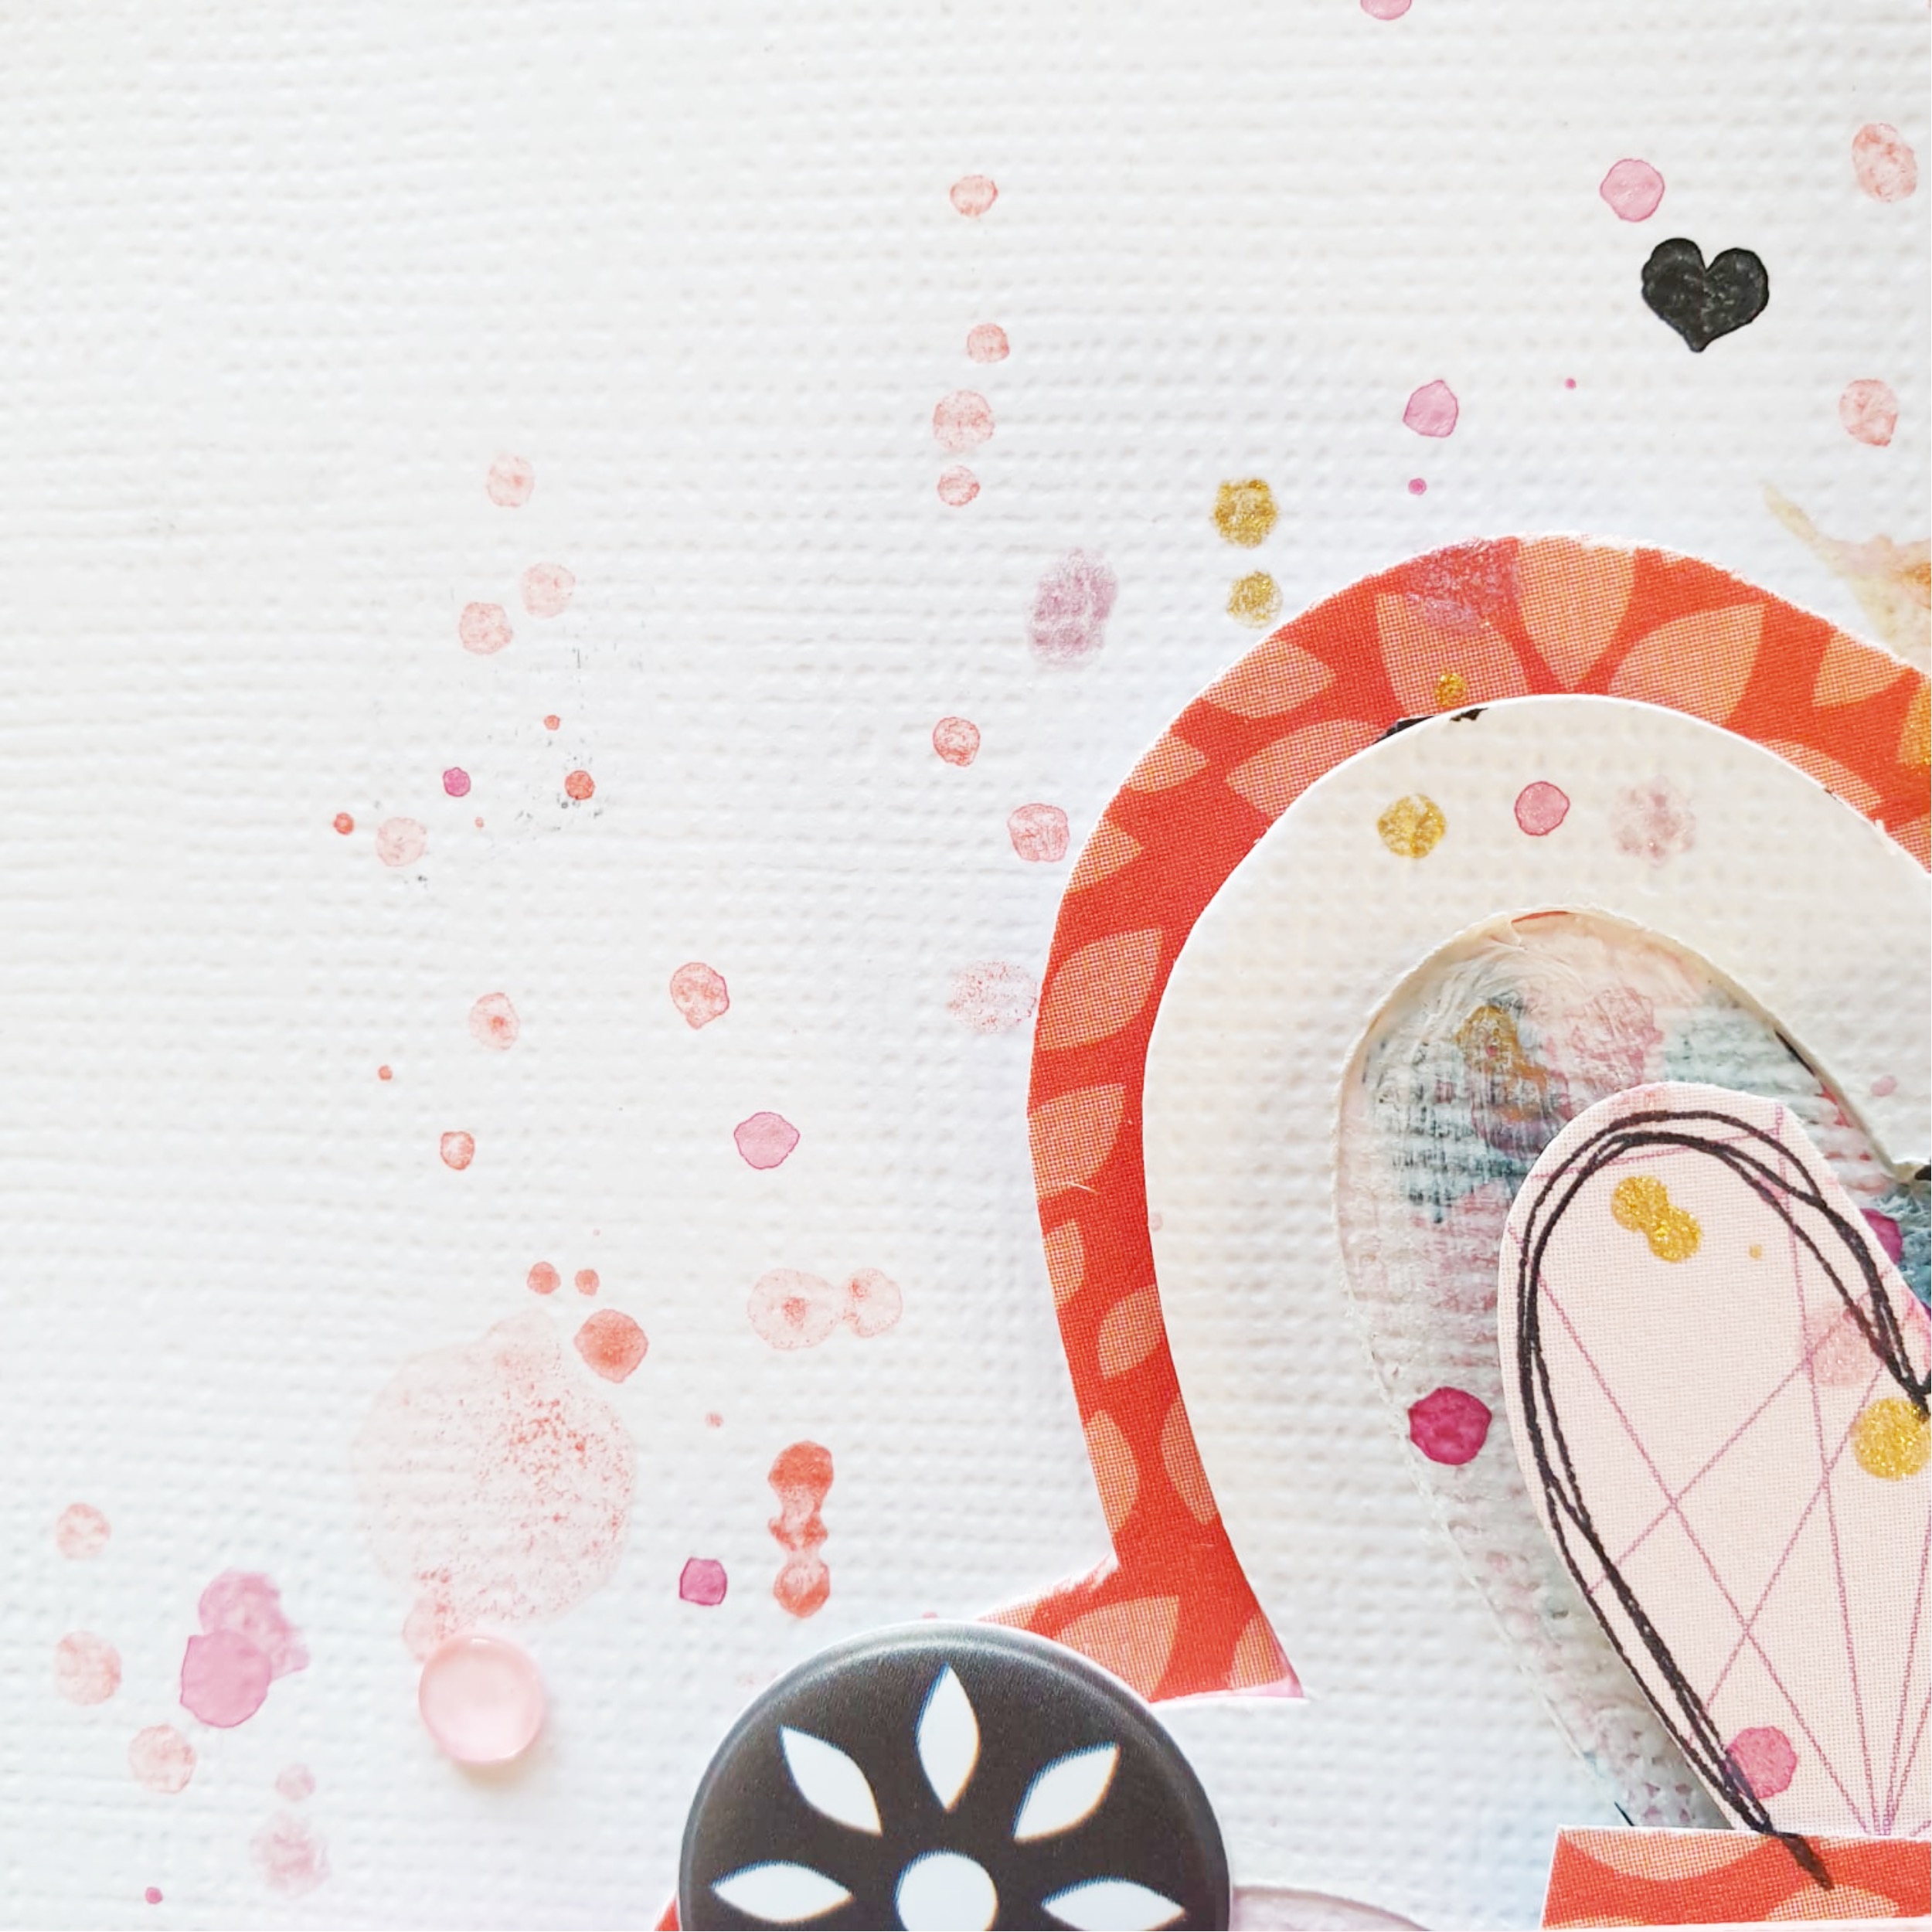
I adhered it to a white sheet of paper and I made some pink and gold splatters around the cutfile.
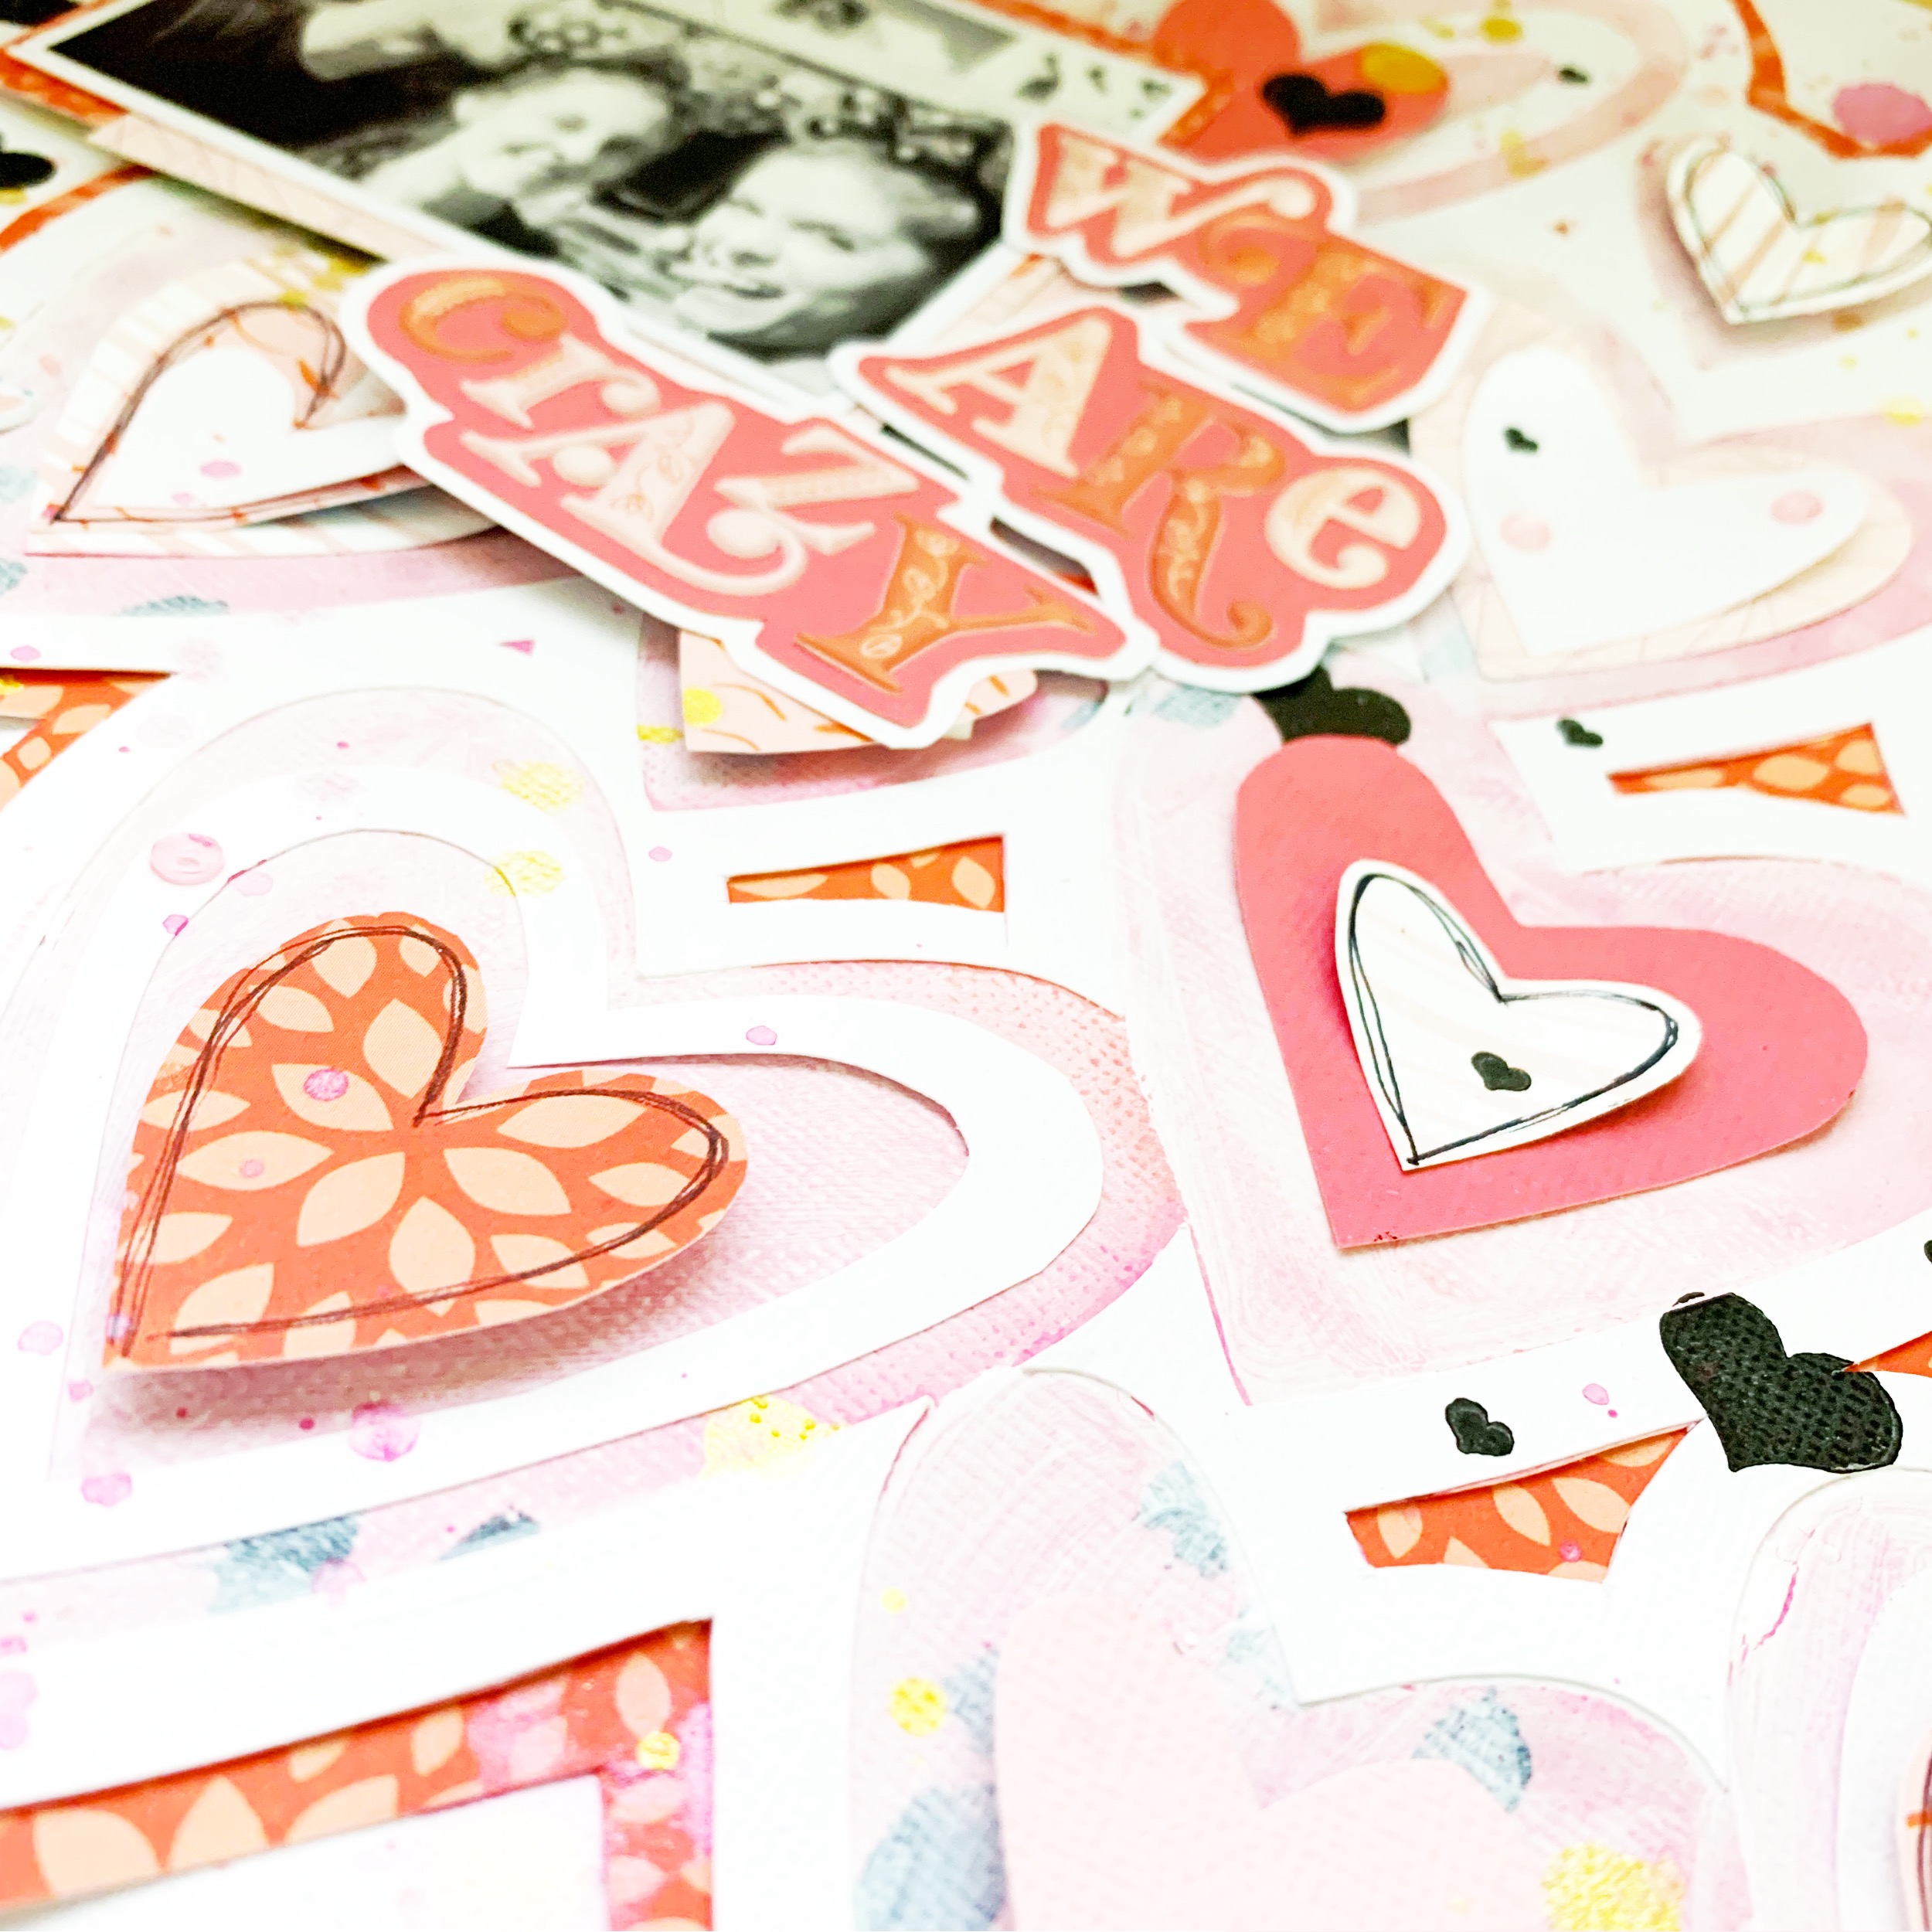
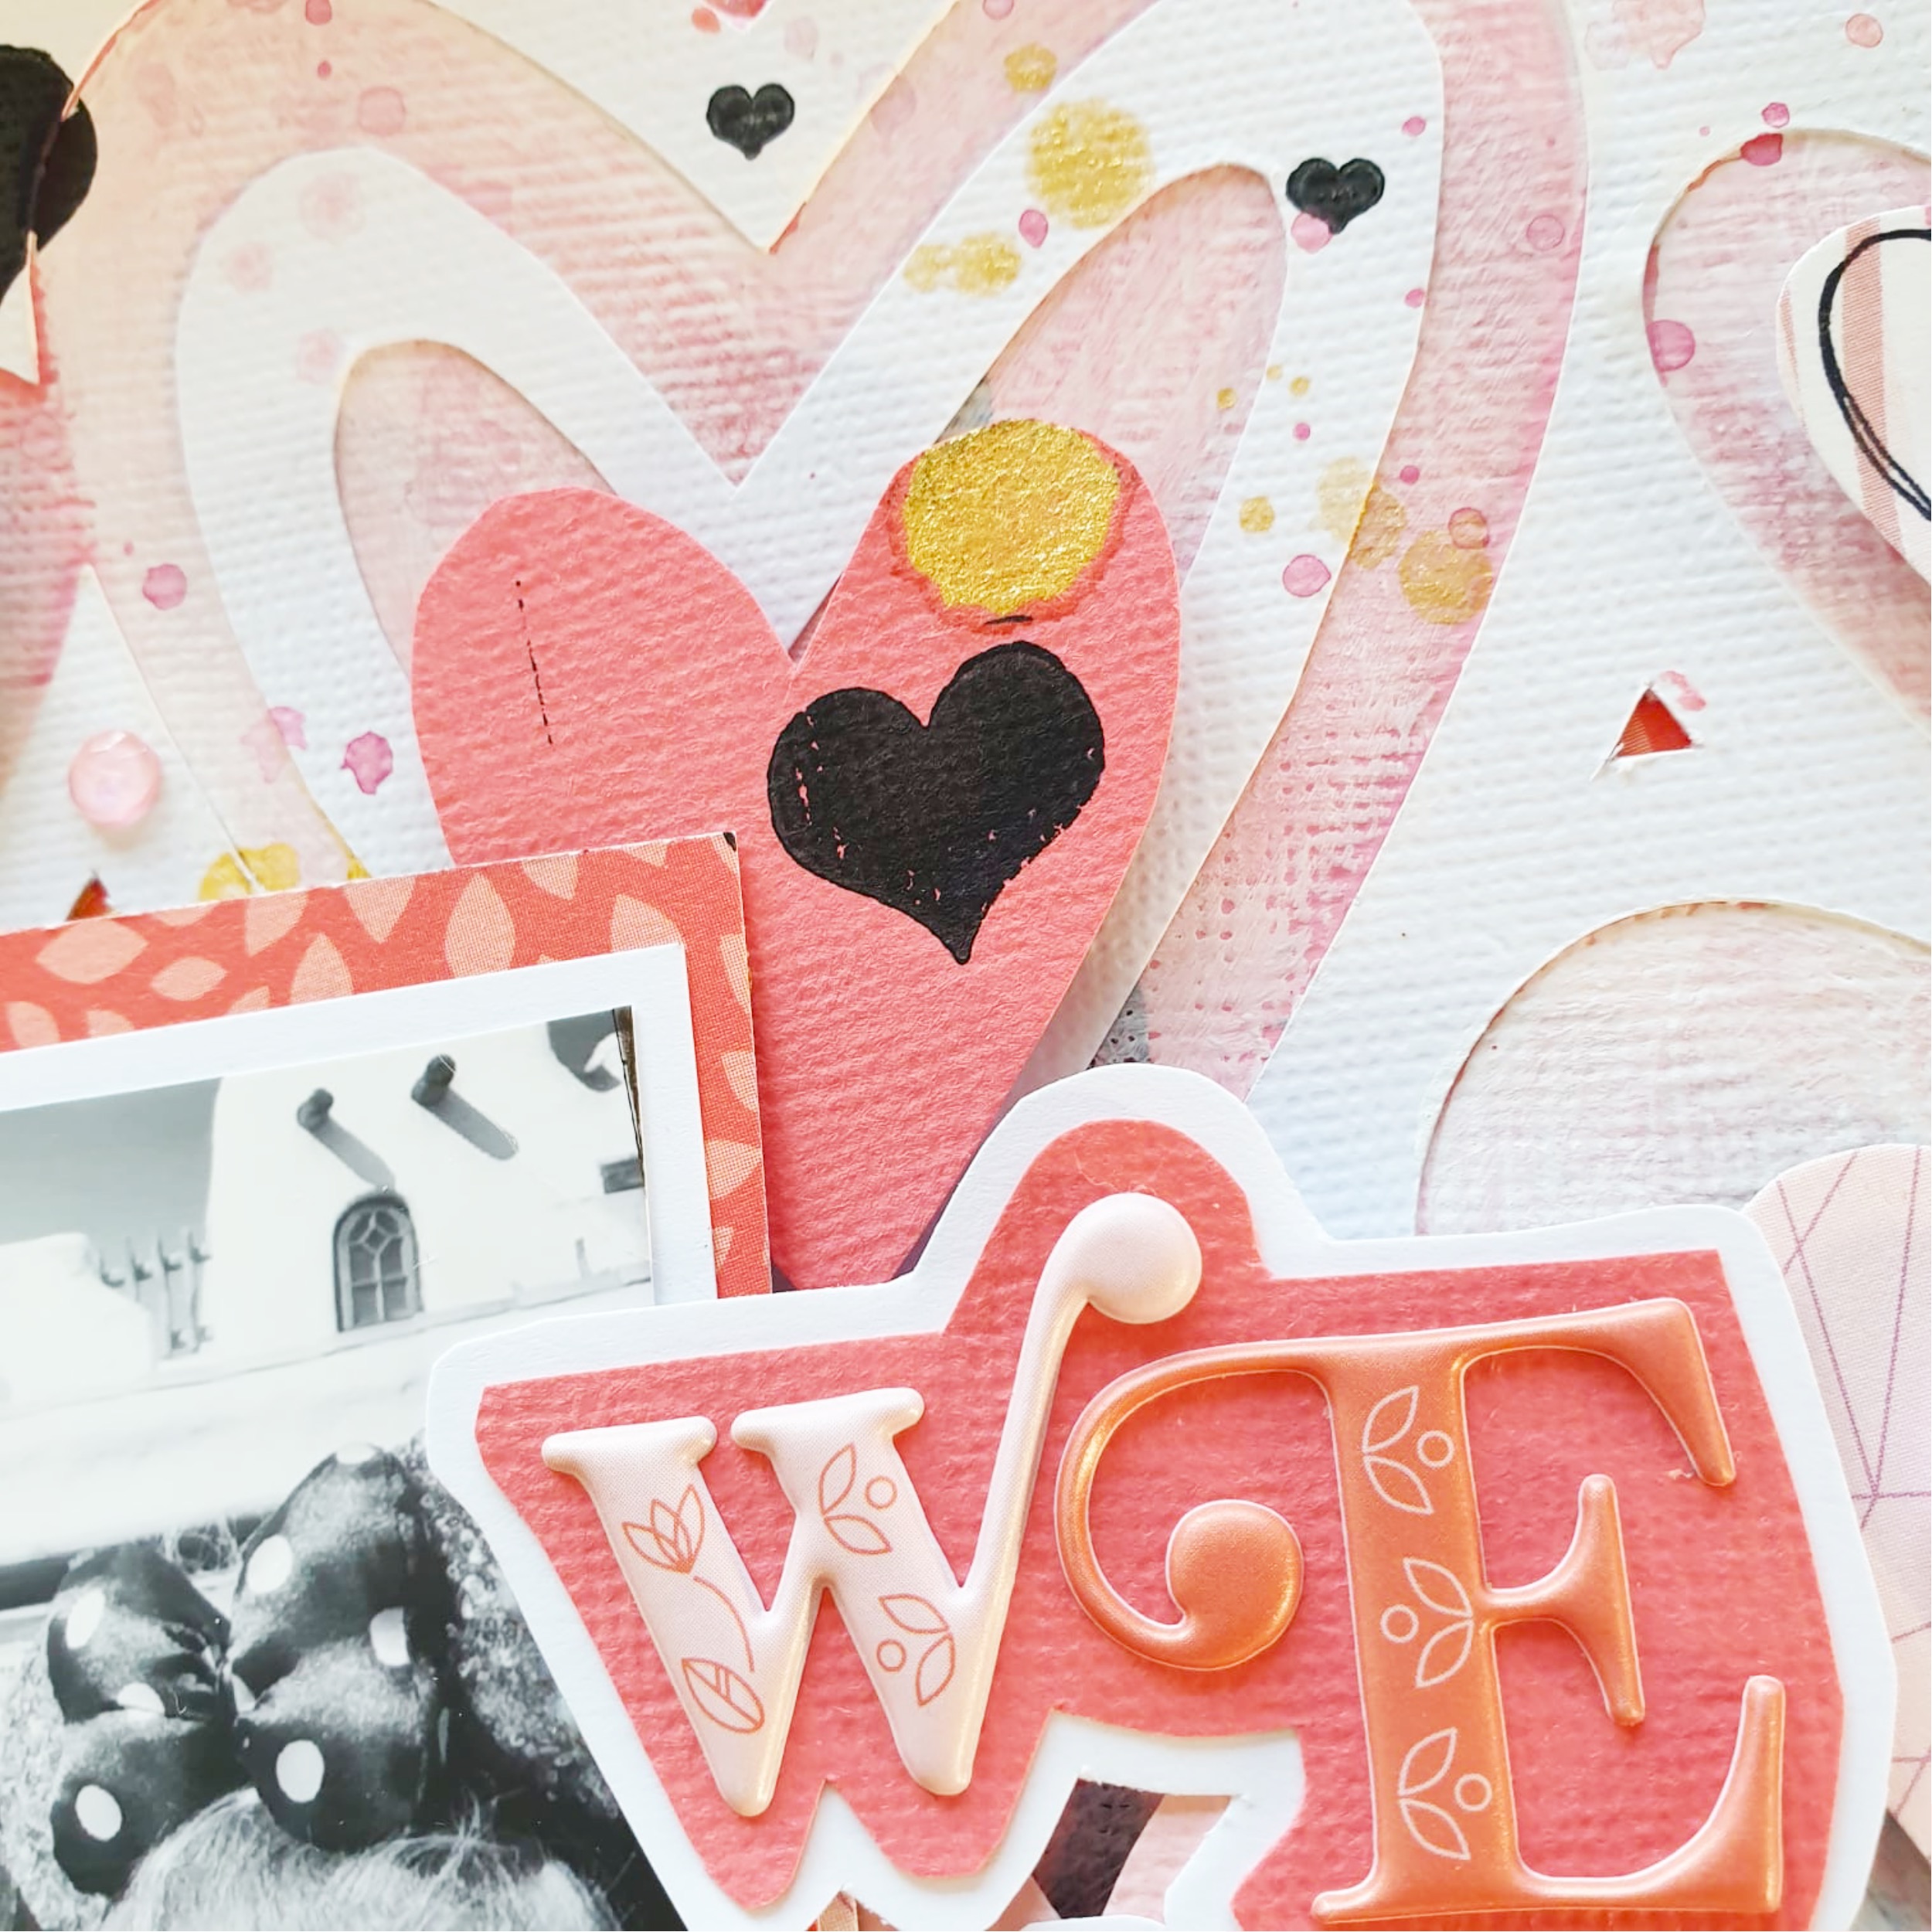
I also wanted to have some black in my layout, so I used a tiny heart stamp and also a bigger one from the Heidi Swapp stamp set (Project Life Kit) and stamped some black hearts on my layout.

I matted my picture on some scraps of paper and adhered it to the layout. For my title, I used the Pinkfresh Studio alpha stickers (Embellishment Kit) and matted them on the red patterned paper and then on some white paper. I added two Pinkfresh Studio puffy stickers (Embellishment Kit) that I had left and that matched and I was done.

Thank you so much for stopping by :)
it's Lisa back on the blog today sharing a mixed media layout.
For this layout, I was inspired by a brand strip on one of the patterned papers in the kits.
I loved the splashes of color and the little irregular stains on top. So to start, I chose a pink cardstock sheet (Cardstock kit) as a background. I took a palette and mixed five or six different shades from the same color. I mixed the Wild Raspberry Color Mist with the white texture paste (Color Kit), using less and less color mist for each mixture, so that I would have a dark color, a light color and some shades in between.
Then I started spreading the different tones on my pink sheet in a random way.
I also used some red Shimmerz spray at the end. Then I used one of the pink shades and some black paint to make those little stains in some places.
When I was done and everything was dry, I placed an exclusive cutfile over the whole thing and cut out around it, so that only the hearts of the cutfile would be backed with the paper I just made.
I chose all of the pink and red patterned papers included in the kits (Main Kitand Paper Kit)and started hand-cutting hearts of different sizes out of them. Then I placed them in the insides of the hearts of the cutfile, layering some of them.
While I was doing this, the background seemed to dark to me, so I took some white gesso and spread it on the hearts using a paint brush and my fingers to have an ombre effect.
Then I replaced all of the hearts on the cuftile and adhered them down. I also adhered the whole backed cutfile on the red patterned paper and cut around leaving a red border.
I adhered it to a white sheet of paper and I made some pink and gold splatters around the cutfile.
I also wanted to have some black in my layout, so I used a tiny heart stamp and also a bigger one from the Heidi Swapp stamp set (Project Life Kit) and stamped some black hearts on my layout.
I matted my picture on some scraps of paper and adhered it to the layout. For my title, I used the Pinkfresh Studio alpha stickers (Embellishment Kit) and matted them on the red patterned paper and then on some white paper. I added two Pinkfresh Studio puffy stickers (Embellishment Kit) that I had left and that matched and I was done.
Thank you so much for stopping by :)
'Lovely smiles' layout for PINK PAISLEE
Wednesday, February 20, 2019

Hey there scrappy friends,
I'm back on the blog today, sharing this layout.

For this layout, I created my own cutfile. I designed a wreath in the silhouette program, made of hearts and stars and flowers. To cut it out of, I used one of Paige Evans' patterned papers from the Whimsical collection, the one with the rainbow stripes.

I wanted to do a little mixed media on the background before placing the wreath on it. First I put some white gesso on the whole sheet of paper, then I took some Distress Oxides and put down some color being careful to use the same colors as on the wreath.
When the machine was done cutting the different shapes, I started adhering the shapes unto the page. To help me do this, I used the paper the shapes were cut out of, as a stencil.

Then I cut off the edges of the white paper and placed it on that same rainbow patterned paper to create a matching border.
To embellish and make the wreath look more full and rounder, I used some rub-ons, enamel shapes, cardstock stickers, chipboard stickers and punched-out hearts.

I matted my picture on some scraps of patterned papers and adhered it to my page. Next to it, I used an ephemera piece and some mini foam stickers to create my title.

To finish the layout, I splattered some paint around the wreath, using the same rainbow colors.
I hope you like how it turned out and are inspired to create your own cutfile for your next project! :)
Lisa
Mini album for PINK PAISLEE
Saturday, February 9, 2019

Hi friends,
it's Lisa back on the blog today sharing a new mini album.

Before I start... You see this super pretty and colorful paper in the background? That's from the brand new Paige Evans collection called Horizon. You should definitely check out the new collection, it's the prettiest ever!!! When I made the mini album though, I didn't have the whole Horizon collection yet, so I used the beautiful Whimsical collection for this one.

To start I created a base to put my inserts in. I used cardboard to make it very sturdy and give it the shape of a classic album. Since I'm not that good at explaining the whole process of making this, I will add a few pictures. :)
First I cut the cardboard and adhered it to the patterned paper I chose for the cover and back. The paper I chose is one of my favorites from the whole collection. I loooove those cute colorful hearts on the white background.

I used very strong adhesive so that nothing would fall apart later.
Then I also adhered all the edges to the back of the cardboard. To hide the cardboard on the inside, I adhered another piece of paper over it.

Then I used my Crop-a-dile to pierce a few holes and attach some eyelets, which I wanted to use to thread my elastics into.

While attaching the elastics, I added some pearls and the super cute heart and butterfly charms from Paige's Turn the Page and Whimsical collections, to the elastics. Love how it turned out :)

Then I created a lot of pages for my album and inserted them like you would in a TN. For the inserts I didn't only use patterned paper. I also added some vellum, acetate, little pocket pages and some tissue paper.

The album is about my favorite layouts of 2018. Since the album is square, I printed my images a tiny bit smaller than the size of the album so that the would fit perfectly in it. I added them to most of the pages. The rest of the pages, I decorated using the beautiful embellishments of the collection, like ephemera, stickers, thickers, foam thickers, puffy stickers, paper clips, enamel shapes, sequins,...

This collection was perfect to scrap my favorite layouts, since it has a lot of crafty and art-like embellishments, like pencils, pens, brushes, palettes, paint tubes, glue bottles... I think those are the cutest and make the album perfect. :)


I really hope you like this kind of album and are inspired to create one for yourself! :)


Thank you for stopping by :)
'This was so much fun' layout for PINK PAISLEE
Friday, February 8, 2019

Hi friends, it's Lisa back on the blog today!
A few weeks ago, I was scrolling through Pinterest, looking at all sorts of things, when this layout by Paige Evans appeared on my screen.

I'm sure I'v seen it before of course but in that moment I was so amazed by it, I loved it so much that I saved it on my phone and decided that I would scraplift it.
So here's my version of it...

Paige used a patterned paper with this ombre stripe pattern. I didn't want to use the same one and of course I wanted some pinks in my background. So I chose 5 different patterned papers, cut them into 2,4x12 strips and adhered them to my 12x12 sheet.
Then I took my white paint marker and splattered some white paint on the whole background.

To write my message/title, I used a lot of papers from the Whimsical collection. First, I cut out rectangles and placed them on the different strips to see in which order I wanted the colors and patters to go. Then I hand-cut the letters out of them and adhered them on the background.

For my pictures, I used a couple I took at Creativation a week before. There's one of me with Paige and the other one shows Missy, Enza, Paige and me. I had such a great time there!!! :)
I matted the photos on some scraps of patterned papers and placed them on the layout.

I used some of Paige's mini foam thickers from the Whimsical collection to write "Creativation 2019" beneath one of the pictures and then I used a whole lot of different embellishments to decorate the page. I took some puffy stickers, some chipboard and cardstock stickers and some ephemera pieces and placed them on or around the letters.
I really love how it turned out! :)

Thank you so much for being here!
Lisa
Falala layout for PINK PAISLEE
Sunday, February 3, 2019

Hi scrappy friends,
today I'm sharing this fun wintery layout.

Believe it or not, this layout wasn't inspired by the picture... :) Haha... in fact, I made this layout and waited for two weeks to finish it, because I didn't have the right picture to go with it. Then, one day, we had this presentation with our kids from kindergarten and it snowed right that day! YAY! So me and my colleagues saw this snowman and thought it would make the perfect picture. It was only when I got home that I realized that it matched so good with the layout. The snow disappeared the day after and it didn't snow since, so I'd say, heaven knew exactly what I knew to complete this layout! :)

To start, I chose a wintery color palette. I went through all of the Whimsical, Turn the page and Pick-me-up papers and chose the ones I thought would match perfectly for this cool winter layout.
I cut squares that had approximately the same size and started placing them on my white 12x12 sheet of cardstock. When I had all my papers adhered, I die-cut snowflakes, hand-cut some other snowflakes and some letters to write "FaLaLa" and punched out stars. I then placed one item in every square paying attention to place them on a color that would make them stand out. Then I stitched in between and around all the lines, using different threads and stitching styles. What I really like is, that it doesn't look perfect and tidy at all, it makes the whole thing really cute. Finally, I splattered some white paint all over it.

I then created this fun snowman by paper-piecing him together using different patterned papers. I hand-stitched around the snowman with matching threads and cut him out leaving a white border. I placed him on my fun background and started embellishing.

I used the Whimsical chipboard stickers, puffy stickers, cardstock stickers and ephemera to place on the snowman an on the squares, trying to color-match them.

Then I stopped and waited two weeks to finally have the perfect picture... :)

I matted the picture on two patterned papers, used some more ephemera flowers around it and on the snowman and I was done! :)
I hope you like how it turned out :)
See you soon :)
Subscribe to:
Posts (Atom)


