
You're sweet layout for Doodlebug Design
Wednesday, March 20, 2024

Are you the kind of person that loves inviting friends over and preparing food and spending amazing moments together? I definitely am and this week I'm sharing a layout using one of the photos I took on such a night. The Made with Love collection was perfect to document this cute photo...


Youtube / Facebook / Instagram
Doodlebug products used
Made With Love collection
Abigail Alpha
Sunshine Alpha
Alphabet Soup Alpha
Friendship layout for Doodlebug Design
Monday, February 5, 2024

We're almost back to Valentine's Day guys, so it's time to get those pink and red collections out of your drawers... :) This week I'm using LOTS OF LOVE for this cute Love layout.


Snow Cold layout for Doodlebug Design

Are you all having fun taking snow photos? Or is it Summer where you live right now? Well... I think everyone knows I'm a huge fan of Summer, but... when it snows and everything is white, I really love the atmosphere and calmness outside. This year, as soon as it looked like that, I took some photos in the snow to be ready for Winter layouts next year... :)
For this layout, which is kind of a matching layout to the one I made two weeks ago, I used another photo of that Winter wedding I went to a few years ago.


Youtube / Facebook / Instagram
Doodlebug products:
Snow Much Fun collection
Other products:
Orange cardstock
Black pen
Distress Oxide
Winter Chillin' layout for Doodlebug Design
Tuesday, January 23, 2024

Happy new year everyone!!!
I'm wasting no time and diving right into Winter layouts... Today I'm sharing a layout I created with the amazing SNOW MUCH FUN collection.


Youtube / Facebook / Instagram
Doodlebug products used:
Snow much fun collection
Other products used:
Metallic watercolors
Christmas cards for Doodlebug Design
Monday, January 8, 2024

I know a lot of people LOVE making cards... I have to say, I'm not really one of those people... For me it has always been more fun to create mini albums and layouts. But, once in a while, I have a fun idea for a card and I enjoy making it. So for this project, I created two cards with sentiments using the Gingerbread Kisses collection.

So, I cut out the letters, to write the words Jolly and Merry (for the sentiments "Holly Jolly" and "Merry Christmas"), from the patterned papers of the 6x6 paper pad. Then I adhered them to a 4 1/2 inch strip using foam tape and then cut off the excess of the strip.

I adhered that piece of paper to a card base I created out of patterned paper too, making it slightly bigger than the strip with the letters, so that a border would peek out from all of the sides.


Youtube / Facebook / Instagram
Doodlebug products used:
Gingerbread Kisses collection
Gold enamel dots from Hello Again collection
Alphabet Soup stickers in Gold
Santa Mittens for Doodlebug Design
Wednesday, December 20, 2023
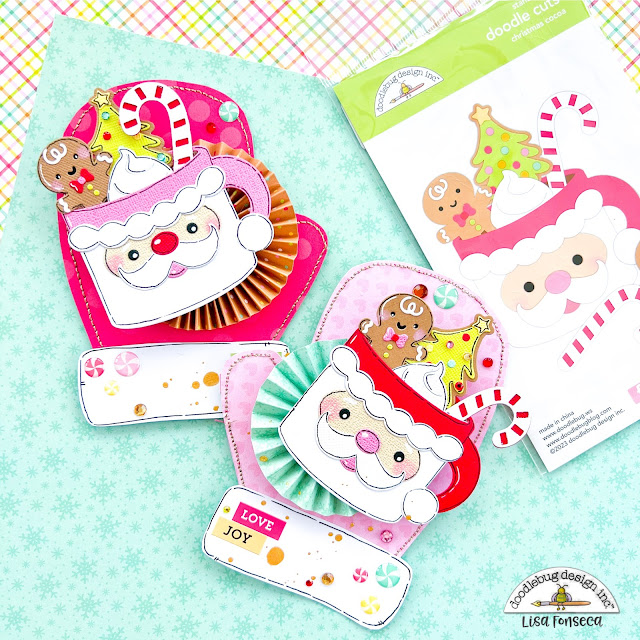
This week I was in the mood for some kind of different crafting. My favorite thing to make are layouts, but sometimes you just want to switch things up. When I saw the cute mug dies from the Gingerbread Kisses collection, I knew I wanted to create some kind of little pockets or gift card holders.
So that's what I did.


Youtube / Facebook / Instagram
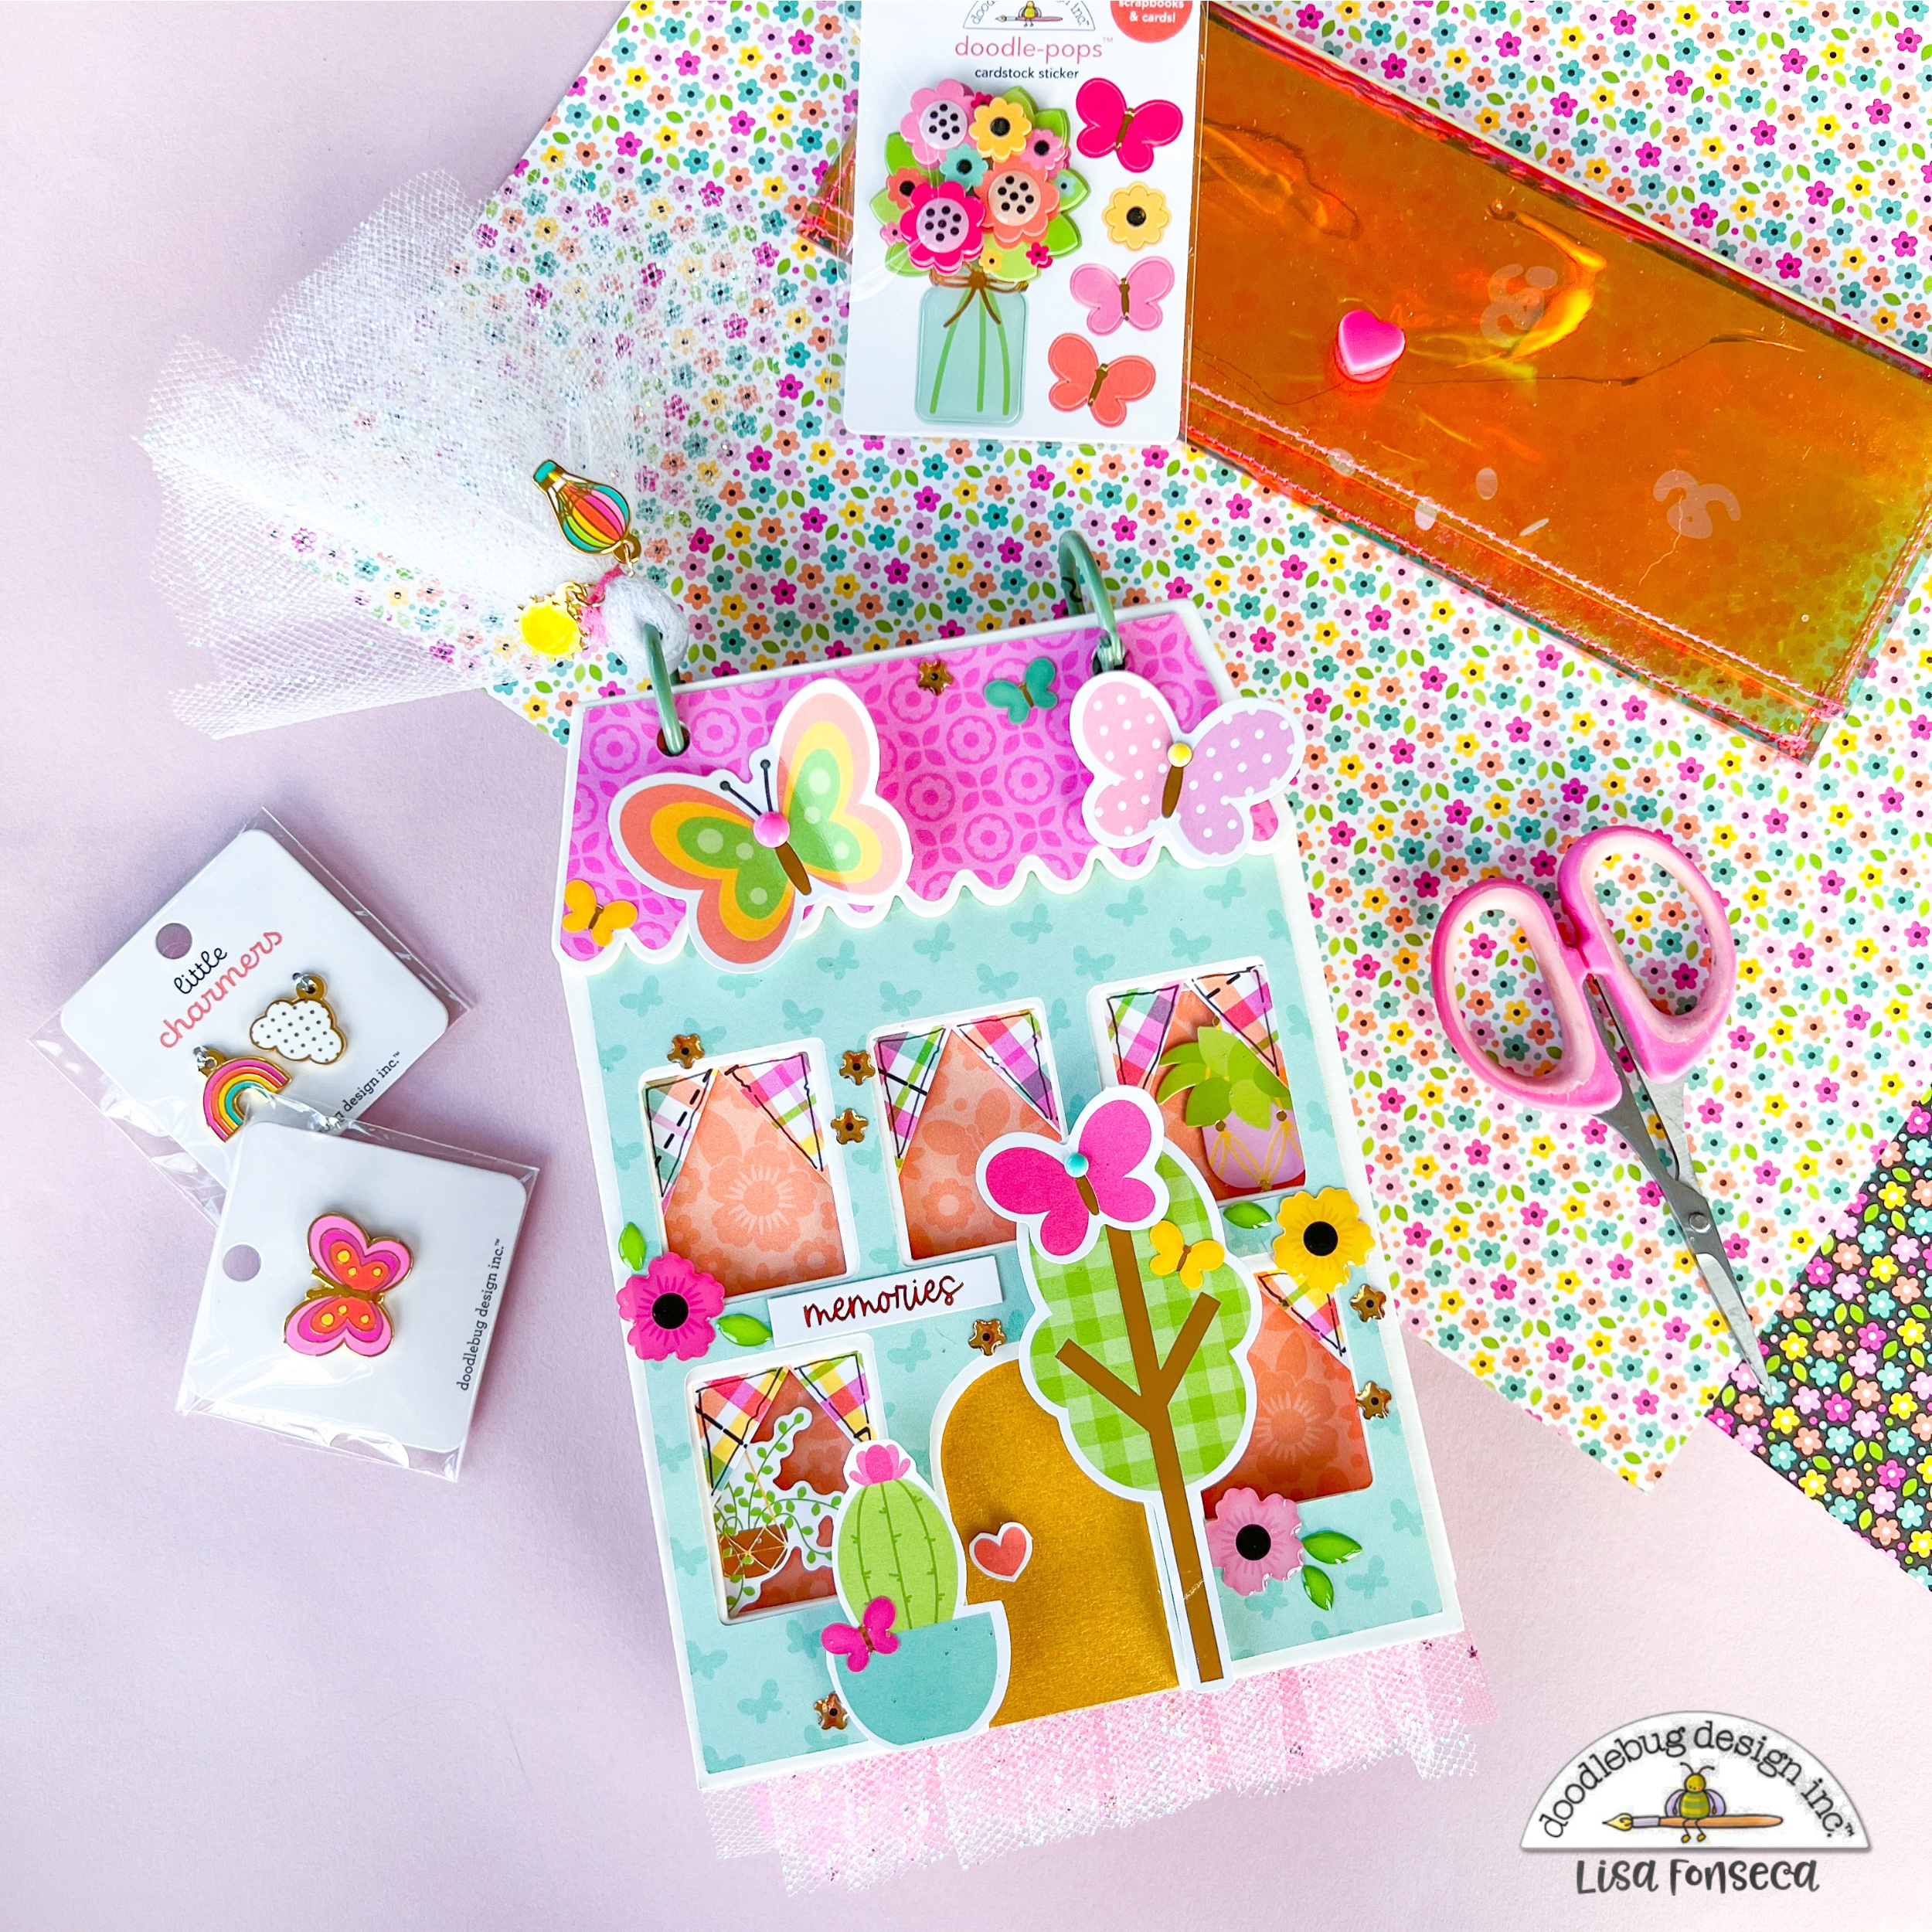
Home Sweet home album with Hello Again collection for Doodlebug Design
Tuesday, December 5, 2023

This week, I allowed myself a small break from Christmas scrapping and used the wonderful and one of my favorite Doodlebug collections ever, Hello Again, with the Home Sweet Home house album.


Youtube / Facebook / Instagram
NOEL - Advent calendar for Doodlebug Design
Wednesday, November 22, 2023
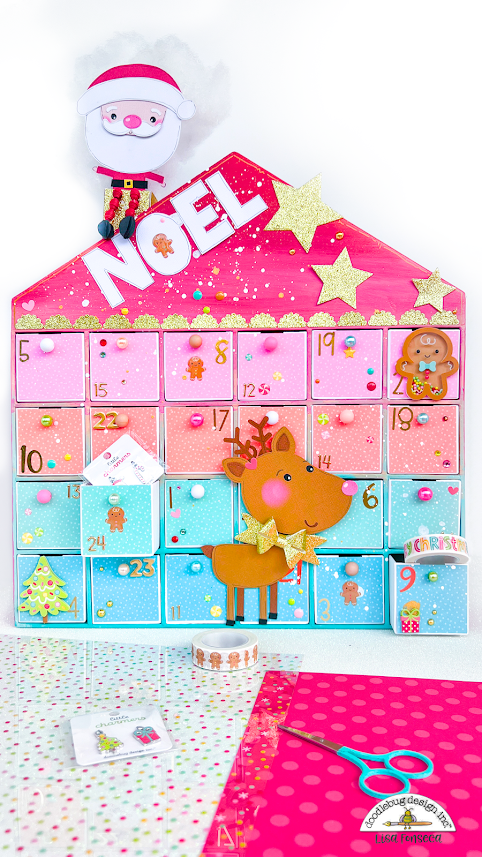
Ahhh... after Halloween, I'm happy to go into the Halloween-Christmas transition phase. I'm not the Christmas-starts-on-Nov-first-kinda-lady, but I'm happy to start creating with a new collection. This time, we got the amazingly cool Advent calendars and I tried to embellish mine as cuuuute as I possibly could... :)


Youtube / Facebook / Instagram
Gold enamel dots from Hello Again
Petite Prints dotted in Cupcake, Swimming Pool, Pistachio and Coral
Cardstock
Gold Alphas from Sunshine, Abigail and Alphabet Soup
Other products used:
Beads
Gold Alphas
Gold glitter paper
Fiberfill


