Love love you layout with Doodlebug Design Lots of Love collection

Wednesday, February 16, 2022
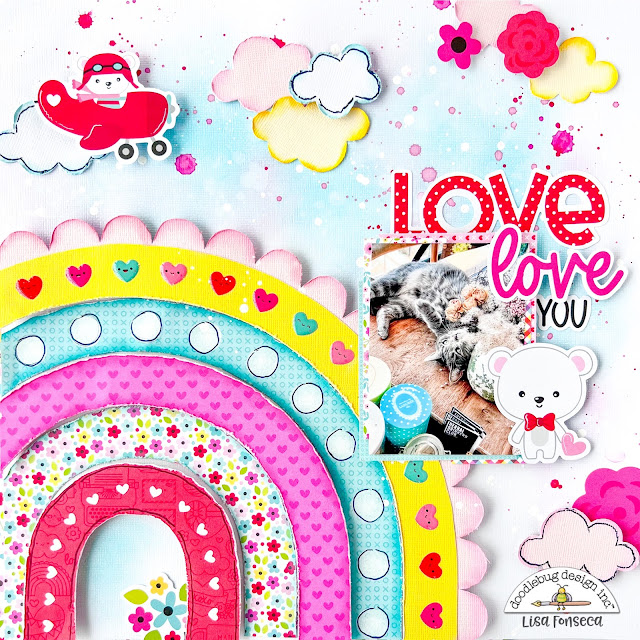
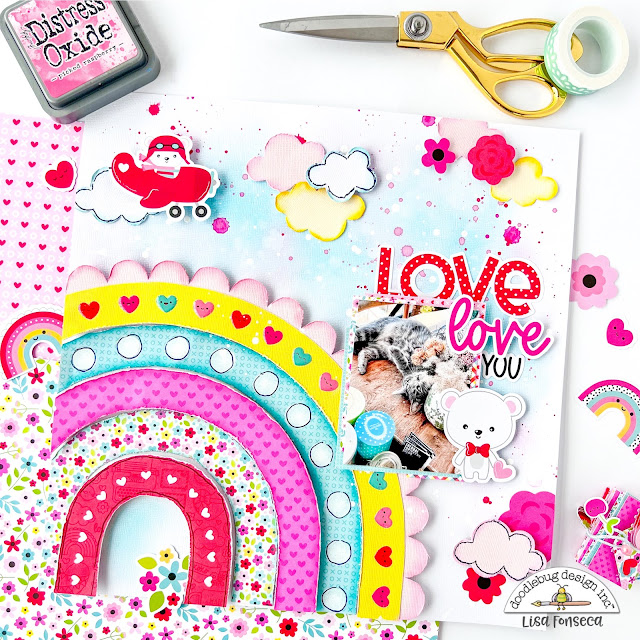
Awwww... I can't get enough of this cute pink, red and blue LOTS OF LOVE collection!!! :) This week, I created a layout using aaaaallll the cuteness. 

I was super inspired by the colorful rainbows, so I decided to create a big one. 
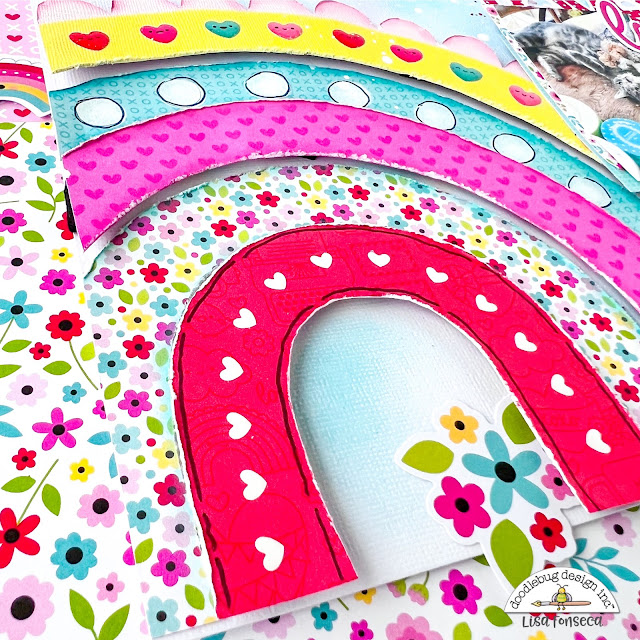

To start I went through the patterned papers from the collection and chose the ones that didn't have too many details and overloaded patterns. I chose a pink, blue and red one and also the cute one with the flowers. To add two more colors, I added two Doodlebug cardstocks in yellow and light pink.  

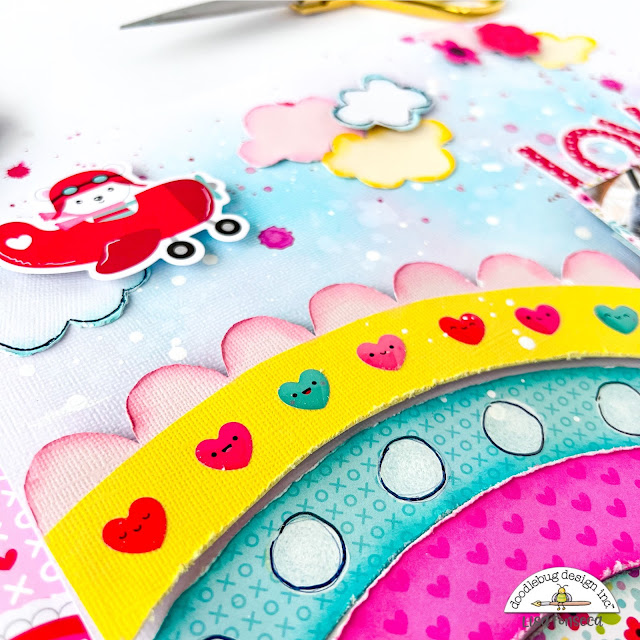
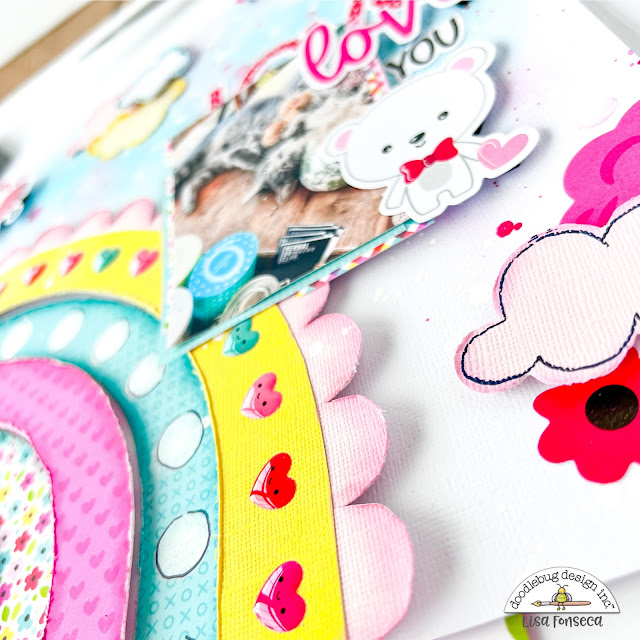
I started by tracing an arch shape onto the bright pink paper, cut it out and then used that piece as a stencil to create the flower arch and the blue arch and then used those two to trace the other ones. I also wanted to add a scalloped arch on the outside, as you can see on the rainbow stickers and embellishments in the collection. 


To make the arches stand out more, I used my Distress Oxides to add some color on the edges. Then I did my background, using a dauber and my Distress Oxides again. I wanted to have a light, faded background that would look a bit like the sky. I used blue and pink and then splattered some water droplets on top, to soak up the color and create a cool distressed look. I also sprinkled some pink over it.


When the background was done, I adhered the arches of the rainbow, alternating between using liquid glue (paper flat on the background) and foam squares (creating dimension). To decoarate my rainbow, I added enamel hearts on the yellow arch, white mini hearts on the red one and white circles on the blue arch, by using a little dauber and white acrylic paint.


Using a cloud die from the collection, I cut out white, pink and yellow clouds, added some color with the Distress Oxides and adhered them to "the sky". I also added some die cut flowers and two little bears... that I LOVE!!!! :) I also found the perfect word dies in the ChitChat die-cut pack to create my title. 
I love the dimension and beautiful colors in this layout. I hope you love it too :)


Thank you for stopping by,
I wish you a wonderful week! :)


Facebook
 Instagram YouTube


Doodlebug products used:


Lots of Love collection

Light pink and yellow cardstock


Other products used:


Distress Oxides

Inks

White cardstock


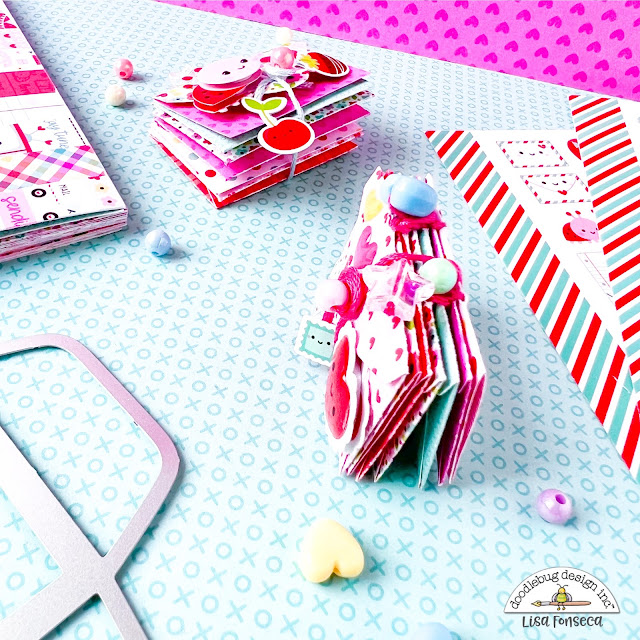
Teeny tiny cute mini books using Lots of Love collection from Doodlebug Design

Monday, January 31, 2022
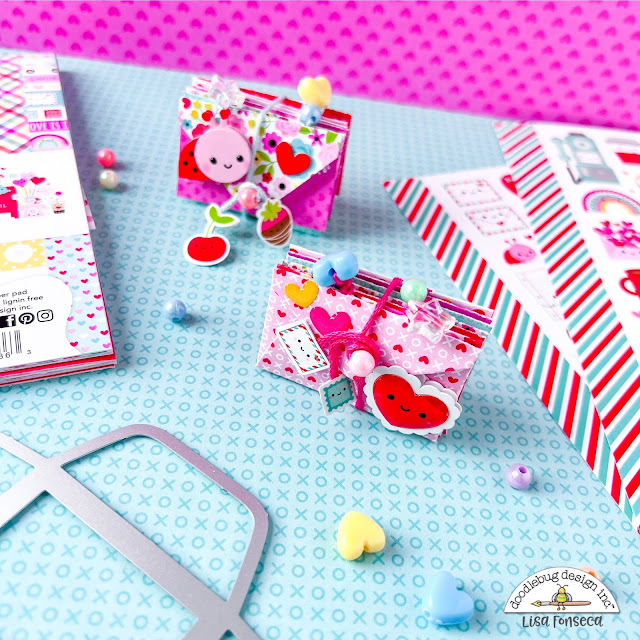
Are you a sucker for cuteness too... ? Everything mini sized is cute, right? :) 

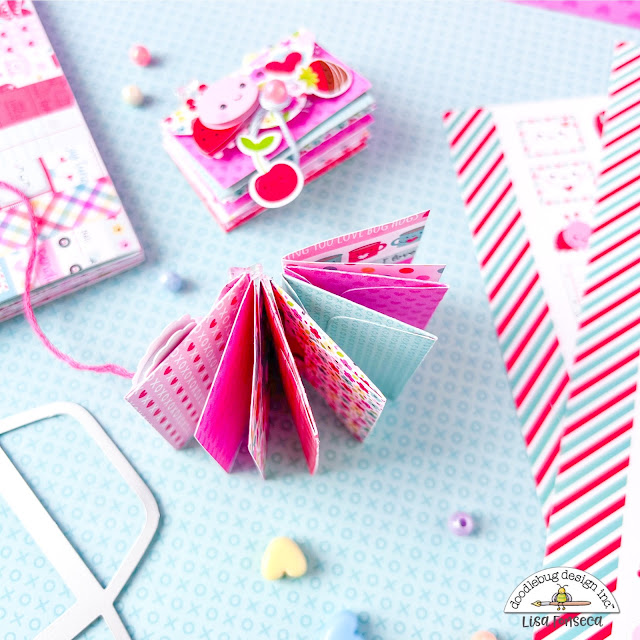
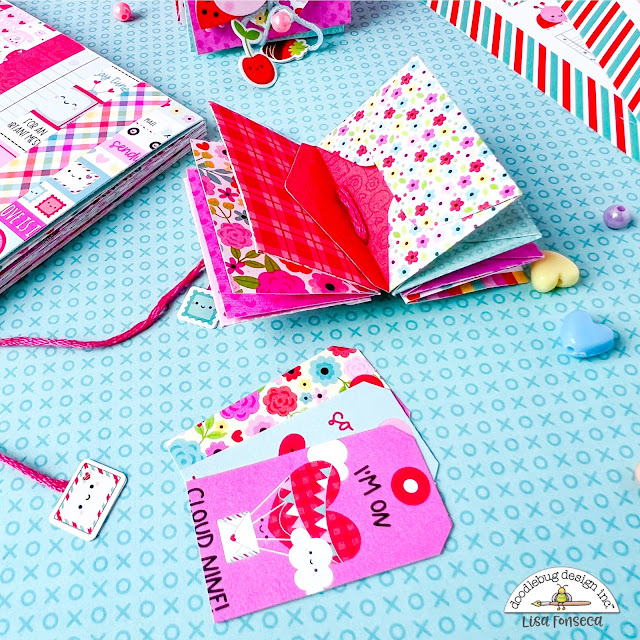
For this project, I created the teeny tiniest thing I've ever done... super small coptic books using the envelope die in the Lots of Love collection. 
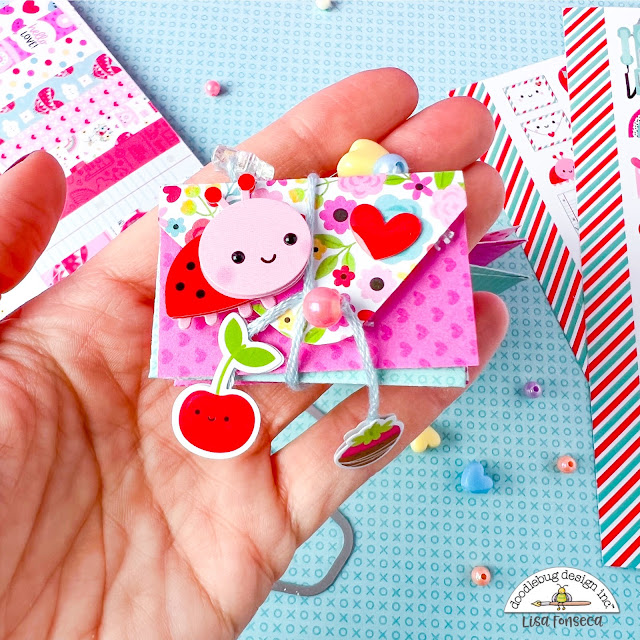

When I saw the envelope dies in the collection, I was sold! I knew I needed to create something with them. I love to create coptic books and so I thought, it could be a cool idea to create super small ones. 


So to start, I used the die to cut out 12 envelopes from different patterned papers from the 6x6 paper pad.  Then I also cut out a few patterned paper rectangles and folded them to have "pages" to include in the album too. 


I then used embroidery thread and used the book binding technique to make coptic books out of the envelopes and pages. I also added some beads to the spine. 


To each envelope, I added some tiny tags and notes, I cut out from the 6x6 paper pad. I decorated the front with doodle pops, enamel shapes and stickers. I think they turned out super cute!!! :) They're such a sweet little gift for friends for Valentine's Day :)


I hope you like my cute mini books and are inspired to create some too. 


Thank you for stopping by,

see you soon,


Facebook
 Instagram YouTube


Doodlebug products used:


Lots of Love collection


Other products used:


Beads

Embroidery thread


Santa Claus is coming to town layout for DOODLEBUG DESIGN

Sunday, January 23, 2022
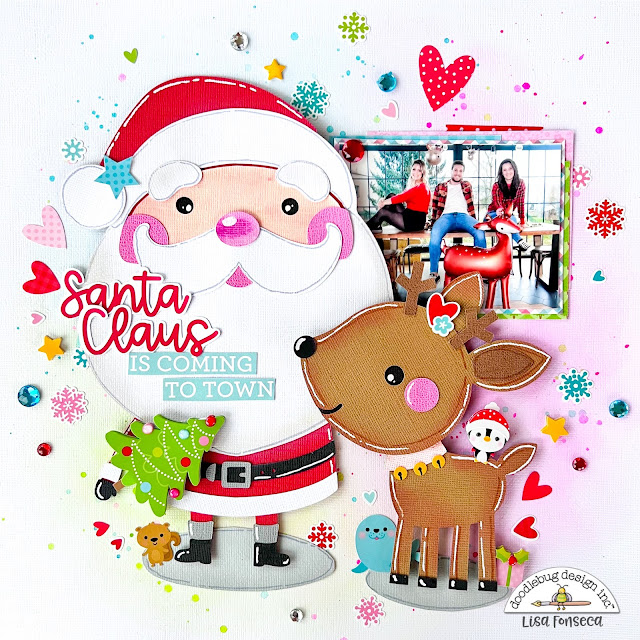
Christmas is over but now comes the good part... scrapping all the new photos :)

For this project I created a layout using one of the photos I took the day before and using the super cute new cutfiles from the Let it Snow collection.
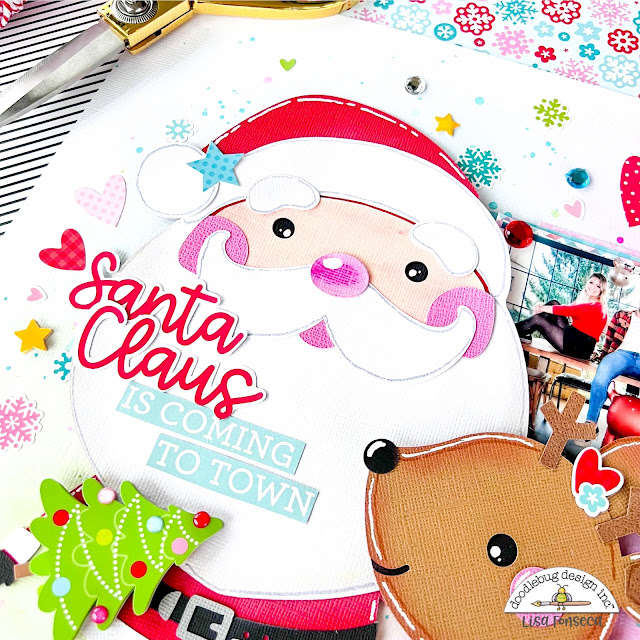
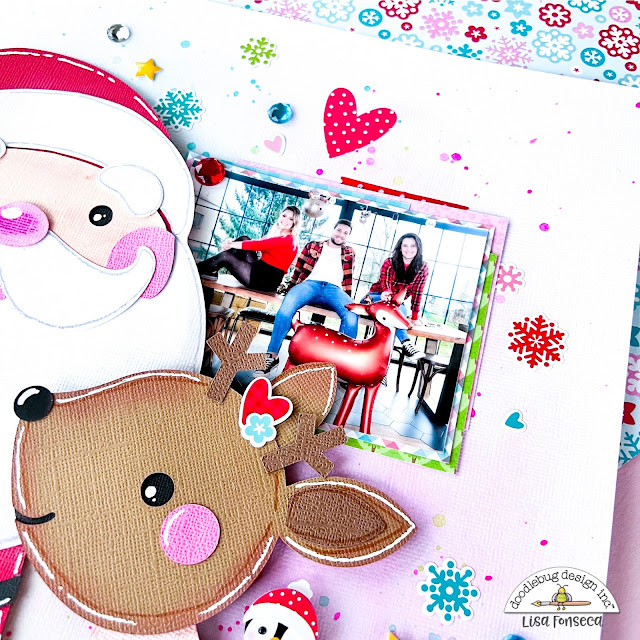
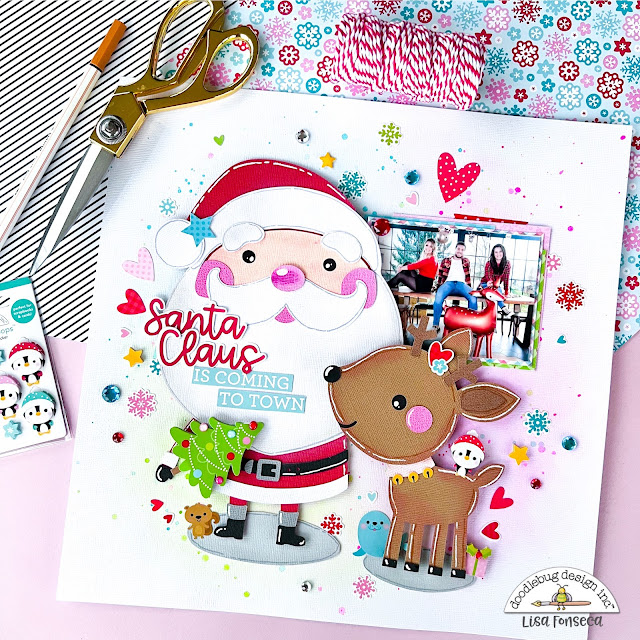
This layout actually came together super fast. I let my Silhouette machine cut out all the parts to create Santa and the deer and then I adhered everything together. For more detail and dimension, I used daubers to put shadows on the characters and also a white pen for highlights.


For the background, I used my Gelatos in blue, pink and green. I just used a baby wipe and smooshed some color on the background. 
Like I said, the photo is from Christmas day, my sister, brother and I took it as a gift for my mom. 
I matted it with some patterned papers. 


I placed both characters and my photo on the background and then adhered it, using doubled sided tape, foam tape and super thick foam squares to have different heights. 
For the title, I used one of the die cuts from the chit chat pack, saying "Santa Claus is coming to town". 

Then came the fun part of going through the Doodle Pops, Jewels and stickers and adding everything that made the layout even cuter.


I hope you like the layout and are inspired to create cute things using the Let it Snow collection and matching cutfiles. 

Thank you for stopping by,


Facebook
 Instagram YouTube


Doodlebug products used:


Let it Snow collection

Cardstock

Cutfiles: 

Santa 

Deer


Coptic book using Let it Snow for Doodlebug Design

Sunday, December 26, 2021
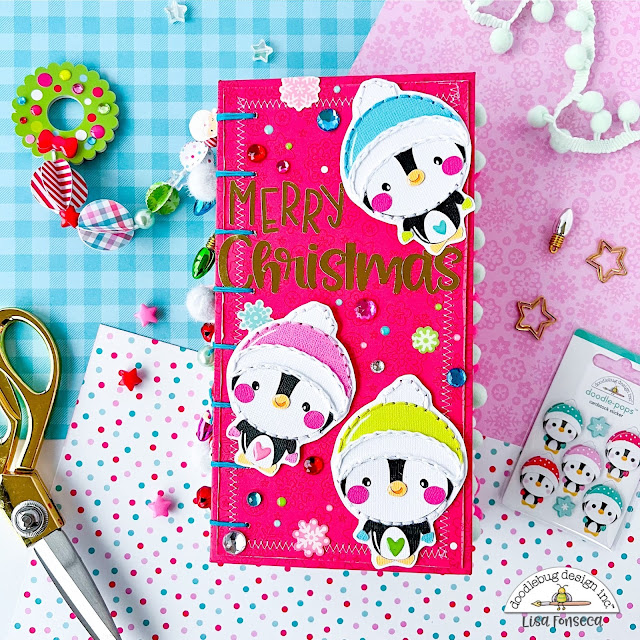
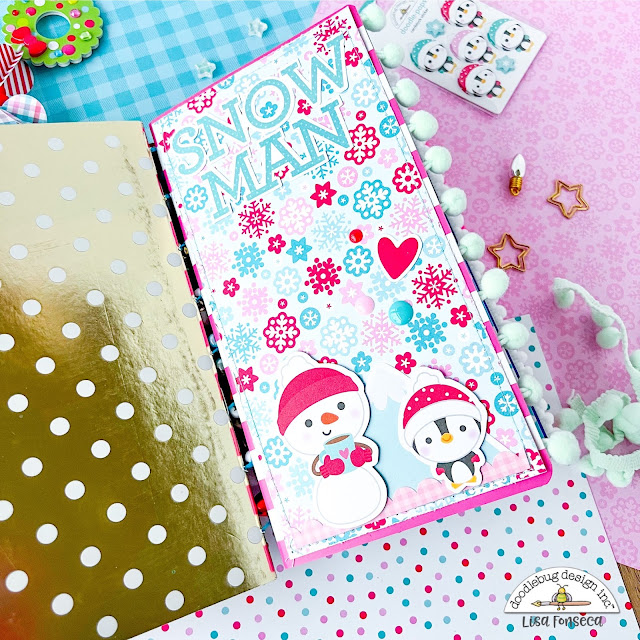
The year is almost over and the most wonderful time of the year is here... To make this time even more happy and cheerful, Doodlebug released another amazingly sweet Christmas collection called Let It Snow. I'm so excited to show you my first project with the collection.
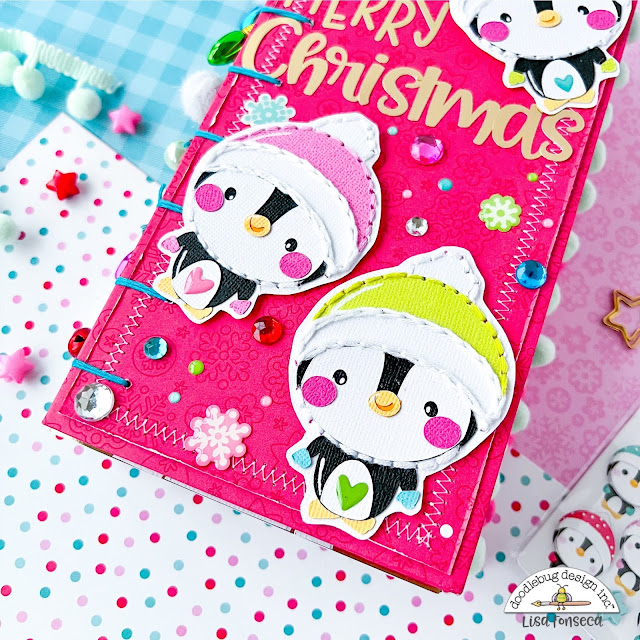
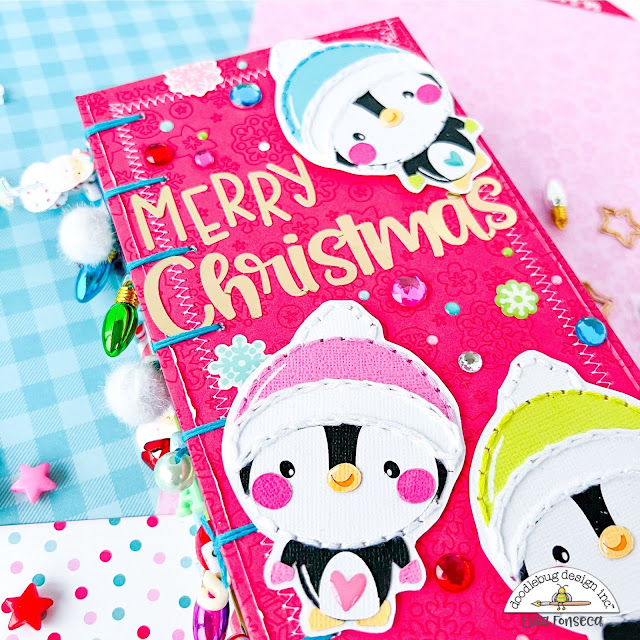
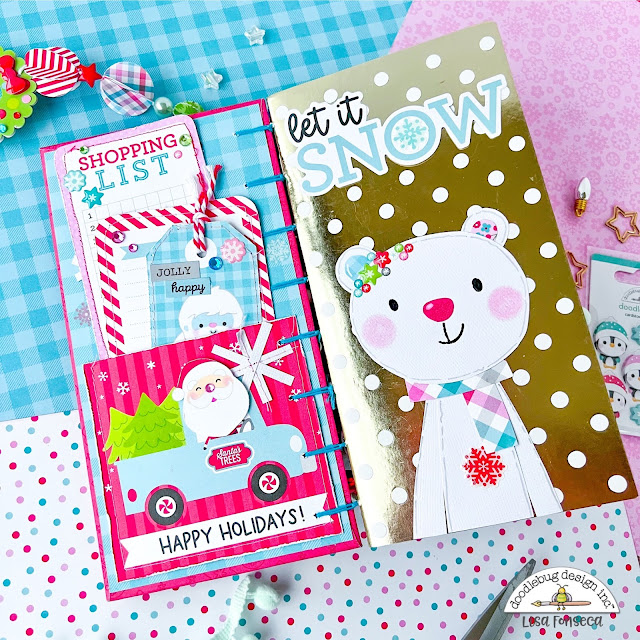
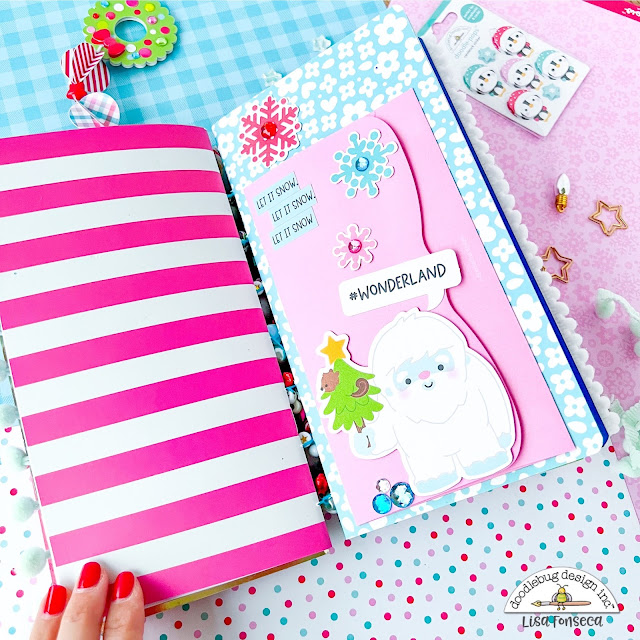
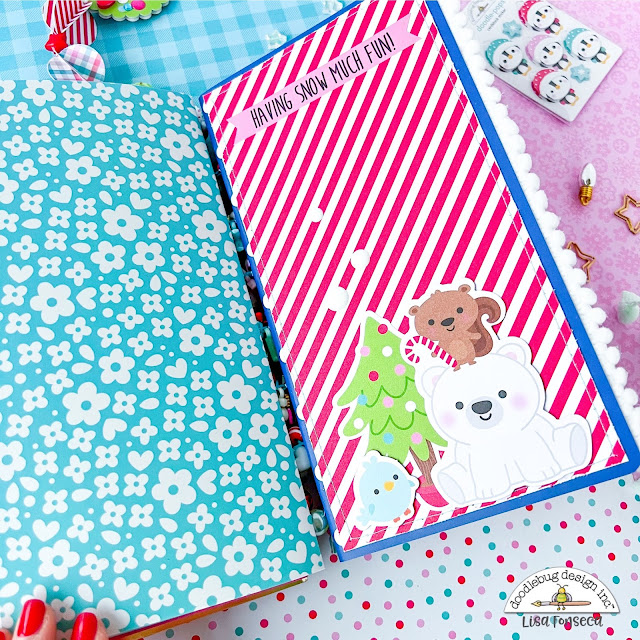
I created a coptic book, using Doodlebug TN inserts. This mini book can fit soooo many things and can be used as a mini album, planner, notebook, TN, whatever you want. I LOVE how it turned out.

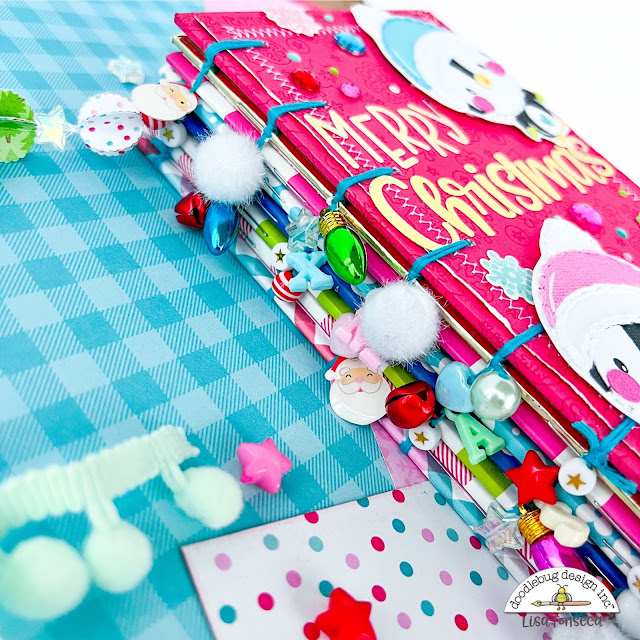
I created the cover and back using chipboard and patterned paper from the collection. I love this pinkish red paper. You can't really see it on this photo, but it has snowflakes all over and it's really pretty. I decorated the cover with three little penguins. Those are Let It Snow cutfiles and I stitched around them with embroidery thread.  I used Sunny and Abigail alpha stickers in gold for my title and then added a ton of jewels and enamel dots.


I chose 6 TN inserts that had matching colors and decorated each cover with cute embellishments from the collection.


On the back of the cover, I added a little pocket, a cute tag and lists. On the cover of the first signature/insert, I created this little ice bear and added a die cut piece from the Chit Chat pack.


On the cover of this signature, I added patterned paper and a few die cut pieces. To add more cuteness, I used three enamel dots.


Here I used one of the envelopes and cards from the Cards&Envelopes pack. I decorated it with die cuts and jewels and adhered it to the cover of the third signature. The card is on the inside of the envelope and I decorated that too. To make the envelope stay shut, I used little magnets.


Some more patterned paper, die cuts and enamel dots on these two covers...

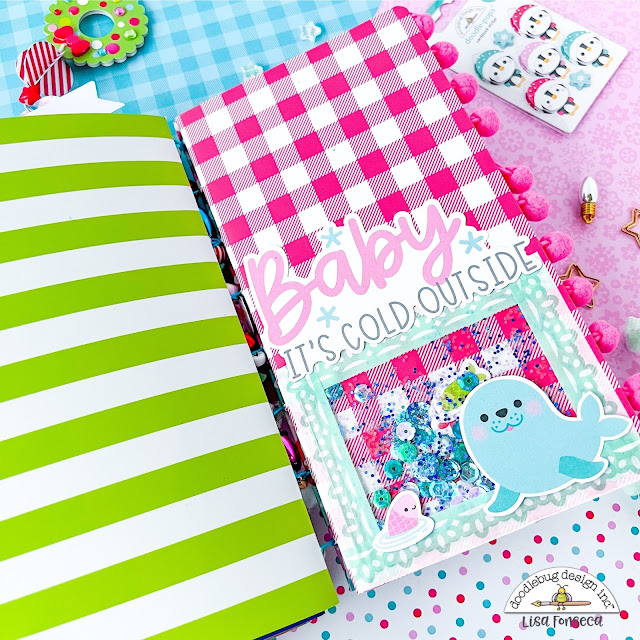
And finally the last signature. To decorate this one, I created a little shaker pocket with sequins, glitter and little die cut fish.


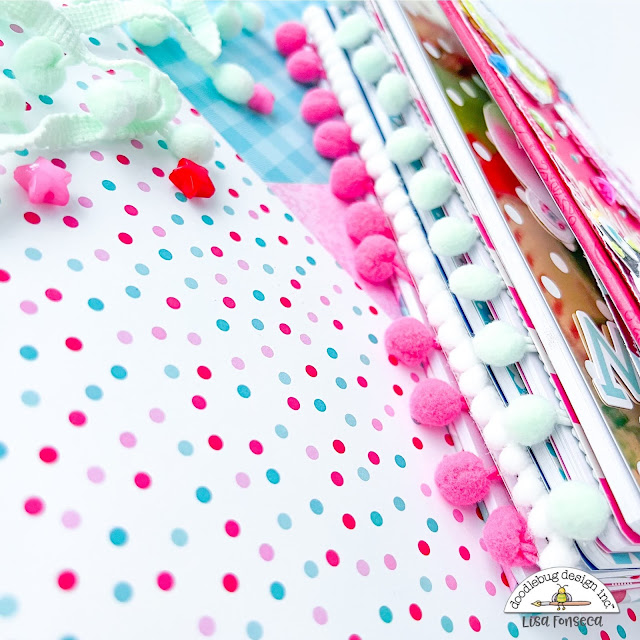
When the cover and back and all the signatures were ready, I bound the coptic book, using teal embroidery thread and a looooooot of charms and beads. It turned out super cute. Then I added pompom trim to three of the signatures. 


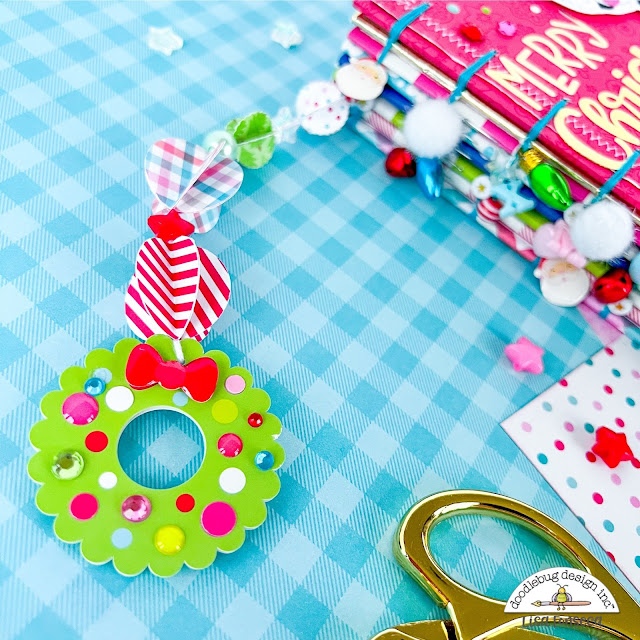
For the cherry on top, I created a tassel with self-made 3D baubles, beads and one of the Doodle Pops. 

Here's a little tipp for turning your Doodle Pops into "charms". Since they are layered and secured together with foam dots, you can disconnect them, turn the back piece around and reattach them back to back. You'll have a cute little embellishment you can add to your tassels. 

LOVE how it turned out!!! :)


Thank you so much for stopping by and see you very soon!!! :)


Facebook
 Instagram YouTube


 Doodlebug products used:

Let It Snow collection

Doodlebug cardstock

Let it snow penguin cutfile

TN inserts


Other products used:

Pompom trim

Embroidery thread

Beads


The Great Outdoors layout for Doodlebug Design

Sunday, December 12, 2021

Ohhhh, I just love this new collection!!! "The Great Outdoors" is not a typical Lisa-collection, because mostly I want to use pink on every layout. But I have to say... these greens, blues and oranges look just toooo pretty together! :)

Here's my second layout with the collection.


For this layout, I wanted to create something simpler. I've created so many layouts recently, where I filled the entire page with colors and embellishments, and I wanted to create something cleaner this time. 

One of the patterned papers gave me the idea actually. It's a paper that is full of small squares with little images and sentiments inside. I used a circle template and traced a few circles on some of the squares. I cut them out and then also cut out the animals represented on those circles, from the second sheet of the same paper. I wanted to layer them on top of the circles, using foam squares, to create dimension.


To create my grid design, I needed nine circles. So for the rest of the circles, I cut them out from different patterned papers. To give the circles a special touch and even more dimension, I also cut out nine scalloped circles that were slightly bigger than the other ones. That way, I could layer everything. I went through the Doodle Pops to fill in some of the remaining circles and chose the tree and the squirrel. 
Since they were glossier than the images I cut out of paper, I used Glossy Accents on all of the images to make them glossy too. I also distressed all of the edges of the circles. 


When I had all of my circles ready to go, I placed them on a white sheet of cardstock and decided how I wanted to adhere them down. Then I traced a grid on the paper using a pencil and went over the lines with my sewing machine and different kinds of threads and stitches. 

Then I adhered all of the circles. I added the photo to the circle in the middle and then used a banner sticker as my title.


After that, I went through all of the cute embellishments from the collection and added Jewels, enamel dots, stickers and enamel stickers...

I really like how it turned out, so colorful and happy. :)

Thanks for checking in and see you very soon.


Facebook
 Instagram YouTube


 Doodlebug products used:

The Great Outdoors collection

Black enamel dots


Other products used:

Thread

Sewing machine


My little nature escape for DOODLEBUG DESIGN design team

Sunday, November 21, 2021

New collection cuteness is coming up... 

After Halloween and before Winter and Christmas, it is always fun to scrap some more Fall photos. I had a fun photo left to scrap that I took a few years ago when taking a walk in the forest, and wanted to use a lot of die cut trees from the new collection, called The Great Outdoors. 

Here's what I came up with...


So as I said, I wanted to use all the trees from one of the Odds&Ends die cut packs, the colors were sooooo gorgeous!! I started by placing them on a white cardstock sheet, checking how I would use them and how many I could fit. Then I stitched trough all of the tree trunks using brown embroidery thread and I distressed the edges with my scissors after cutting off a bit of the white borders.


To have a base to place my trees on, I ripped pieces of three different patterned papers and layered them one on top of the other, starting with the lightest one. On top of that, I adhered one of the green scalloped Paper Frills, which reminds me a bit of grass. 
After placing and adhering all of my trees, I stitched a few zig-zag and straight lines from left to right to add some detail to the bottom. 


For my background, I wanted to add some matching color behind the trees. So I used my watercolors and added a lot of water and then the same colors as the trees. I let it dry for a few hours.
I matted my photo with some patterned and tissue paper and added it to my layout, placing it behind one of the trees. Behind the photo, I added a cloud and sun die cut. 


Then came the embellishing part. I added Jewels, Cute Clips in the shapes of flowers and stars, Odds&Ends die cut flowers, enamel ants and two super cute animal die cuts, an eagle and a bear.

For my title I used one of the Chit Chat word die cuts, saying "Nature" and I backed it with some yellow patterned paper. I also used Alpha stickers two write the rest of the title. 


I really love the colored trees in this layout and how they stand out so much and make the layout so vibrant and alive.
By adding stitched and distressed details, the layout has so much dimension, I LOVE it.


Thank you so much for stopping by and see you very soon,


Facebook
 Instagram YouTube


Doodlebug Products used:

The Great Outdoors collection

Sunshine Alpahs

My Type Alphas


Other products used:

Brown embroidery thread

White cardstock

Watercolors  


Fun at the park layout for Doodlebug Design

Monday, November 8, 2021

After two projects using HAPPY HAUNTING, I went back to the FUN AT THE PARK COLLECTION. I'm super excited for the new collections to arrive at my doorstep, but until then, I wanted to created another layout documenting my visits at Disneyland and using the adorable Doodlebug cutfiles.


To start, I needed to decide which cutfile/s I was going to use. I decided to go with the ice cream one, the cute Minnie bow and the sun. The ice cream is just too cute and with the added bow, it's just to die for... LOL :)

So I let the machine cut out all of the pieces and then I assembled everything, after putting some color around the edges of each piece, with my Distress Oxides. I love doing this when I don't stitch around the border, to give my little characters more dimension and interest. I also went in with my fine tip white jelly pen, to draw the highlights.


Usually, I never use ripped strips of patterned paper on the sides of my layouts, but I absolutely wanted to use this white and black striped paper and since I couldn't use it as a background, I decided to go with the strips... and, I LOVE IT!!! :) I adhered them to a light pink sheet of cardstock, distressed the edges even more with my fingers and then added some pieces of red and white dotted washi tape. I went over the strips with my sewing machine, using pink and orange thread. 


For the background, I had started with something completely different. I used one of the patterned papers from the collection. The one with the colorful confetti. I added gesso in the center and some pink color and created this colorful mess... Well sometimes colorful messes are cool and beautiful, but this time, it was a real mess... :) I didn't want to use that, so I used a simple pink cardstock sheet and added pink and orange to it with my Gelatos. 


I backed my photo on some pieces of patterned paper and then added my big embellishments, as well as my photo, to the layout. For the ice cream and sun, I used two layers of fun foam, to make them stand out a lot. 
Then I went through all the embellishments from the collection and added the popcorn cart Shaker Pop,  enamel popcorn, popcorn stickers, enamel stars and the title. I used the Abigail alphas underneath the photo and hand-cut out the letters to write FUN, on top of the ice cream. 

I'm so in love with the way it turned out!!! :)


So now, run and go grab your amusement park photos to scrap some memories with the adorable FUN AT THE PARK collection and cutfiles! :)

See you soon, 


Facebook
 Instagram YouTube


Doodlebug products used:
Fun at the park collection
Abigail Alphas
Pink Cardstock

Cutfiles:
ICE CREAM 2
SUNSHINE

Other products used:
Thread in orange and pink


Friday, October 22, 2021

I like all things spooky and when it comes to October, I could scrap Halloween layouts and mini albums every day :) I love the new Doodlebug Halloween collection, called Happy Haunting, and created my very first layout yesterday. I like the bright colors and I love that there's some pink in the collection. :)

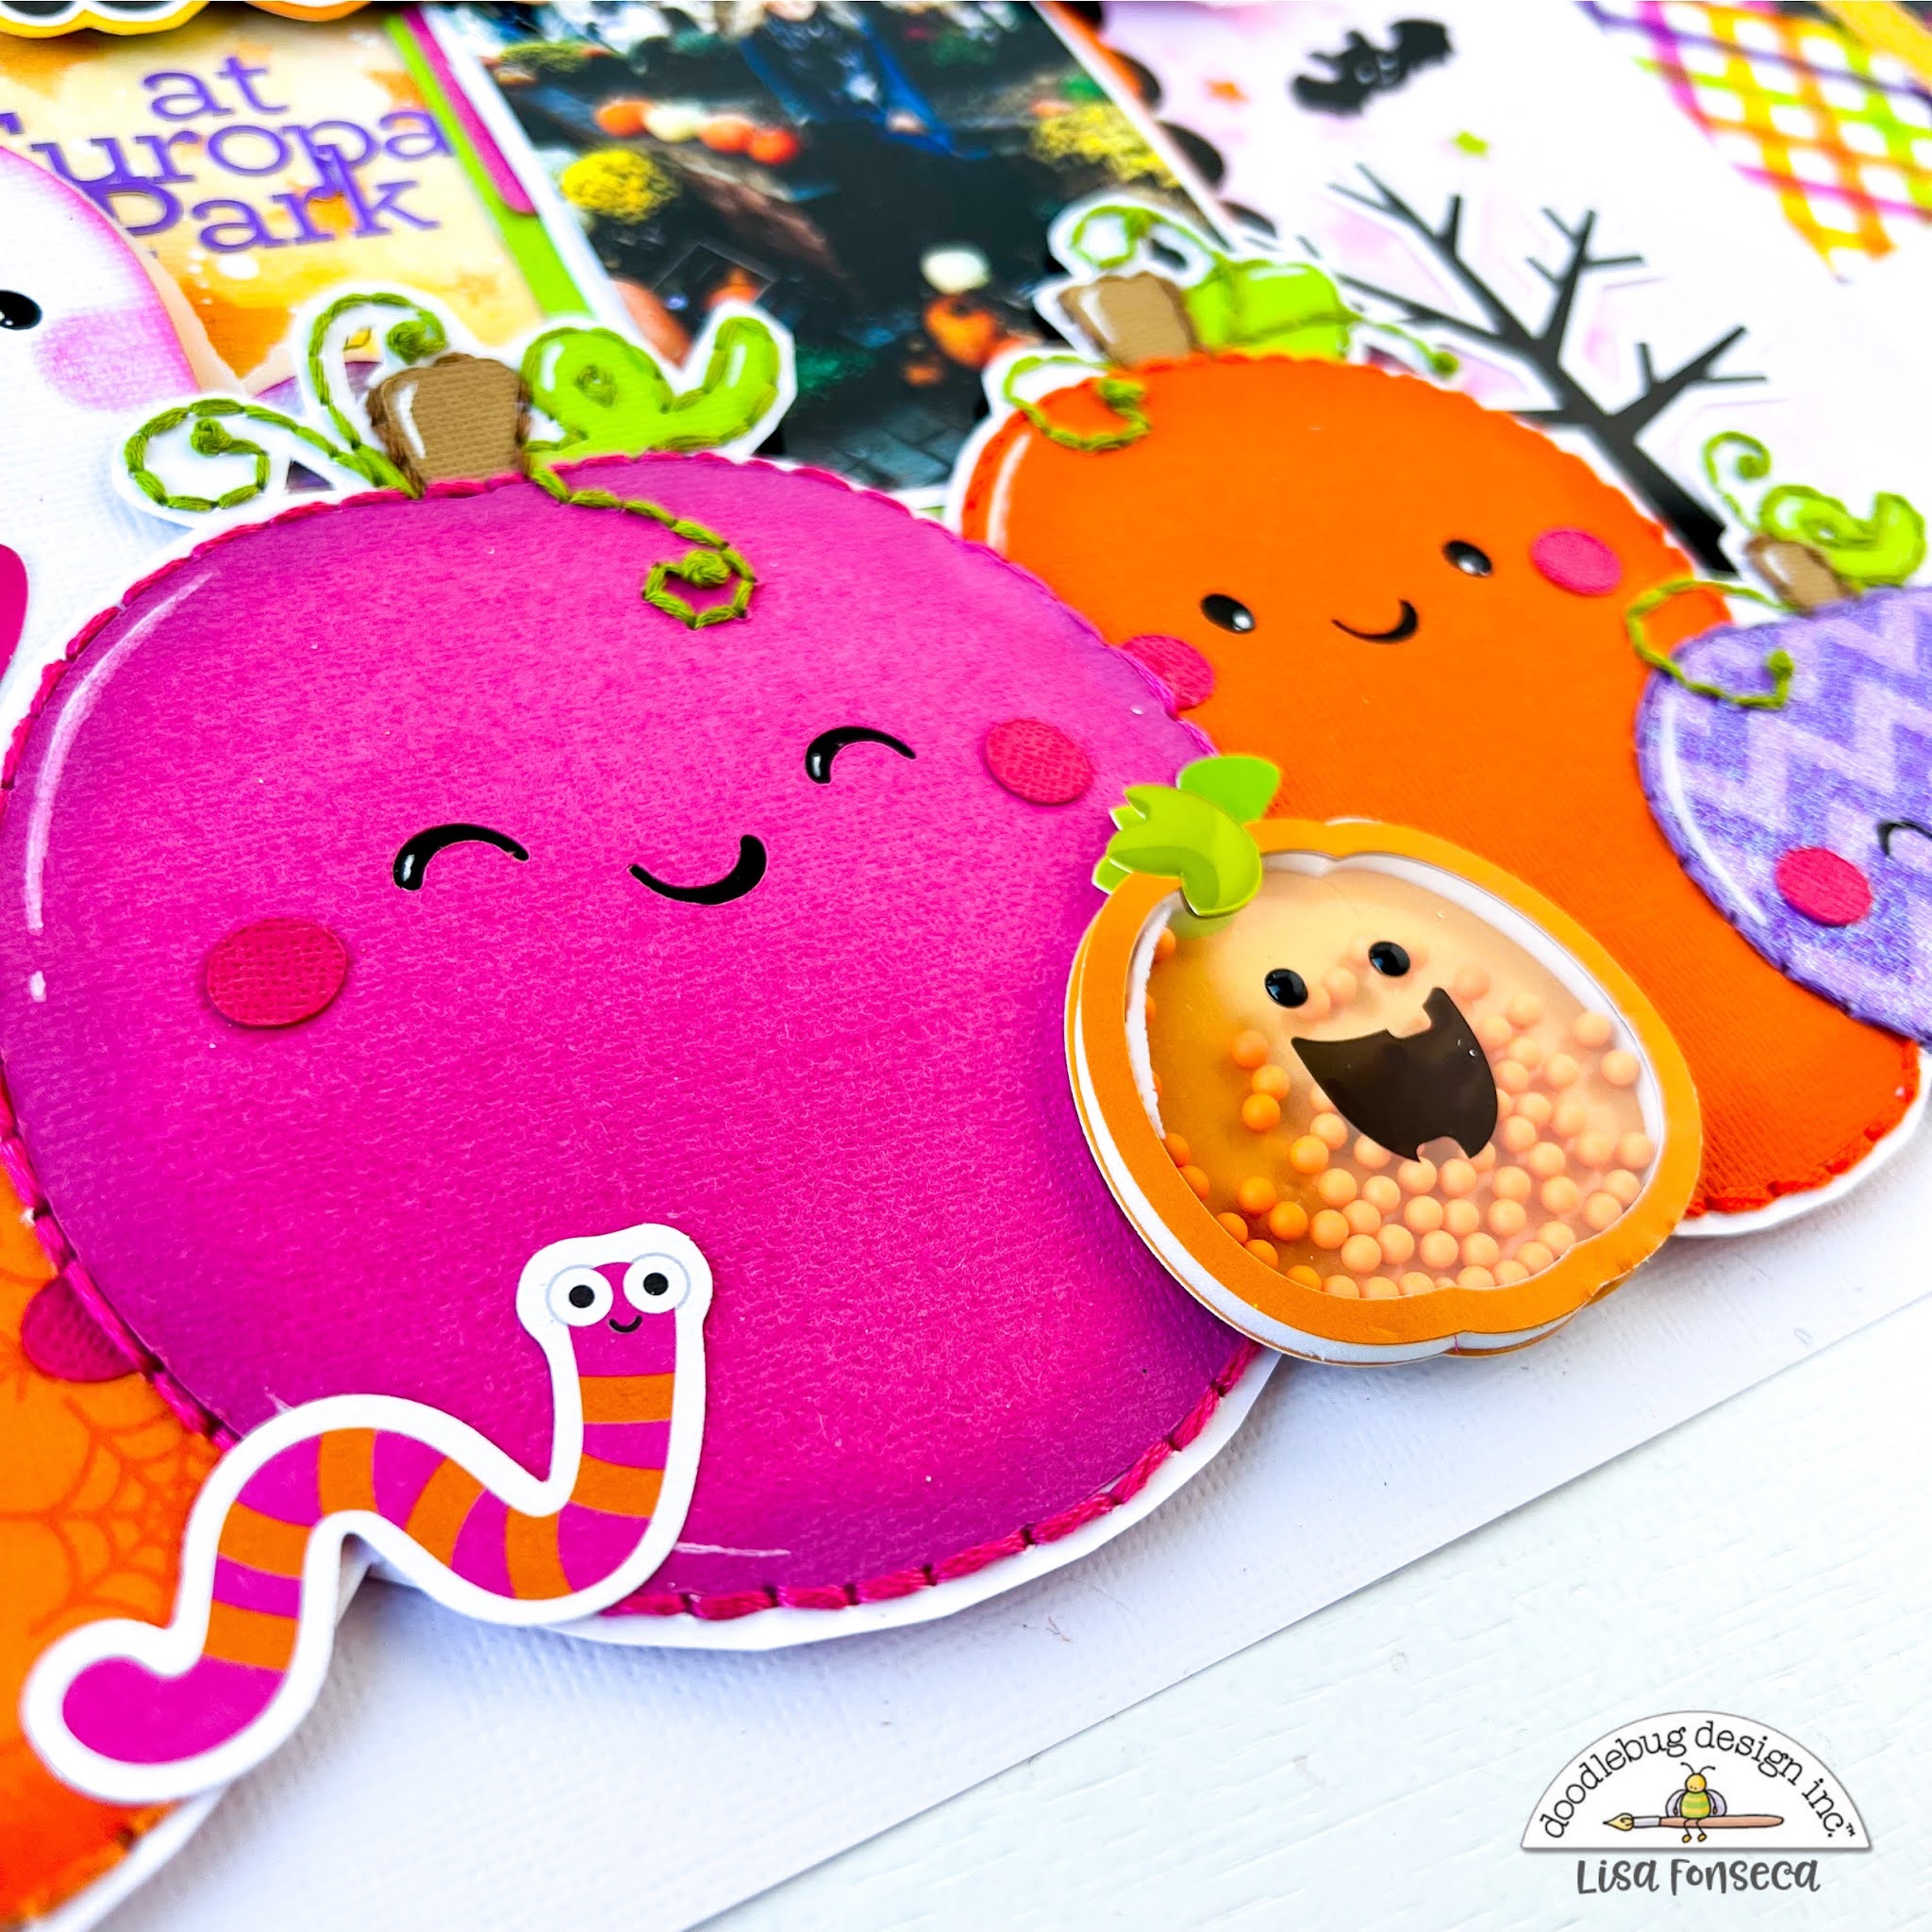
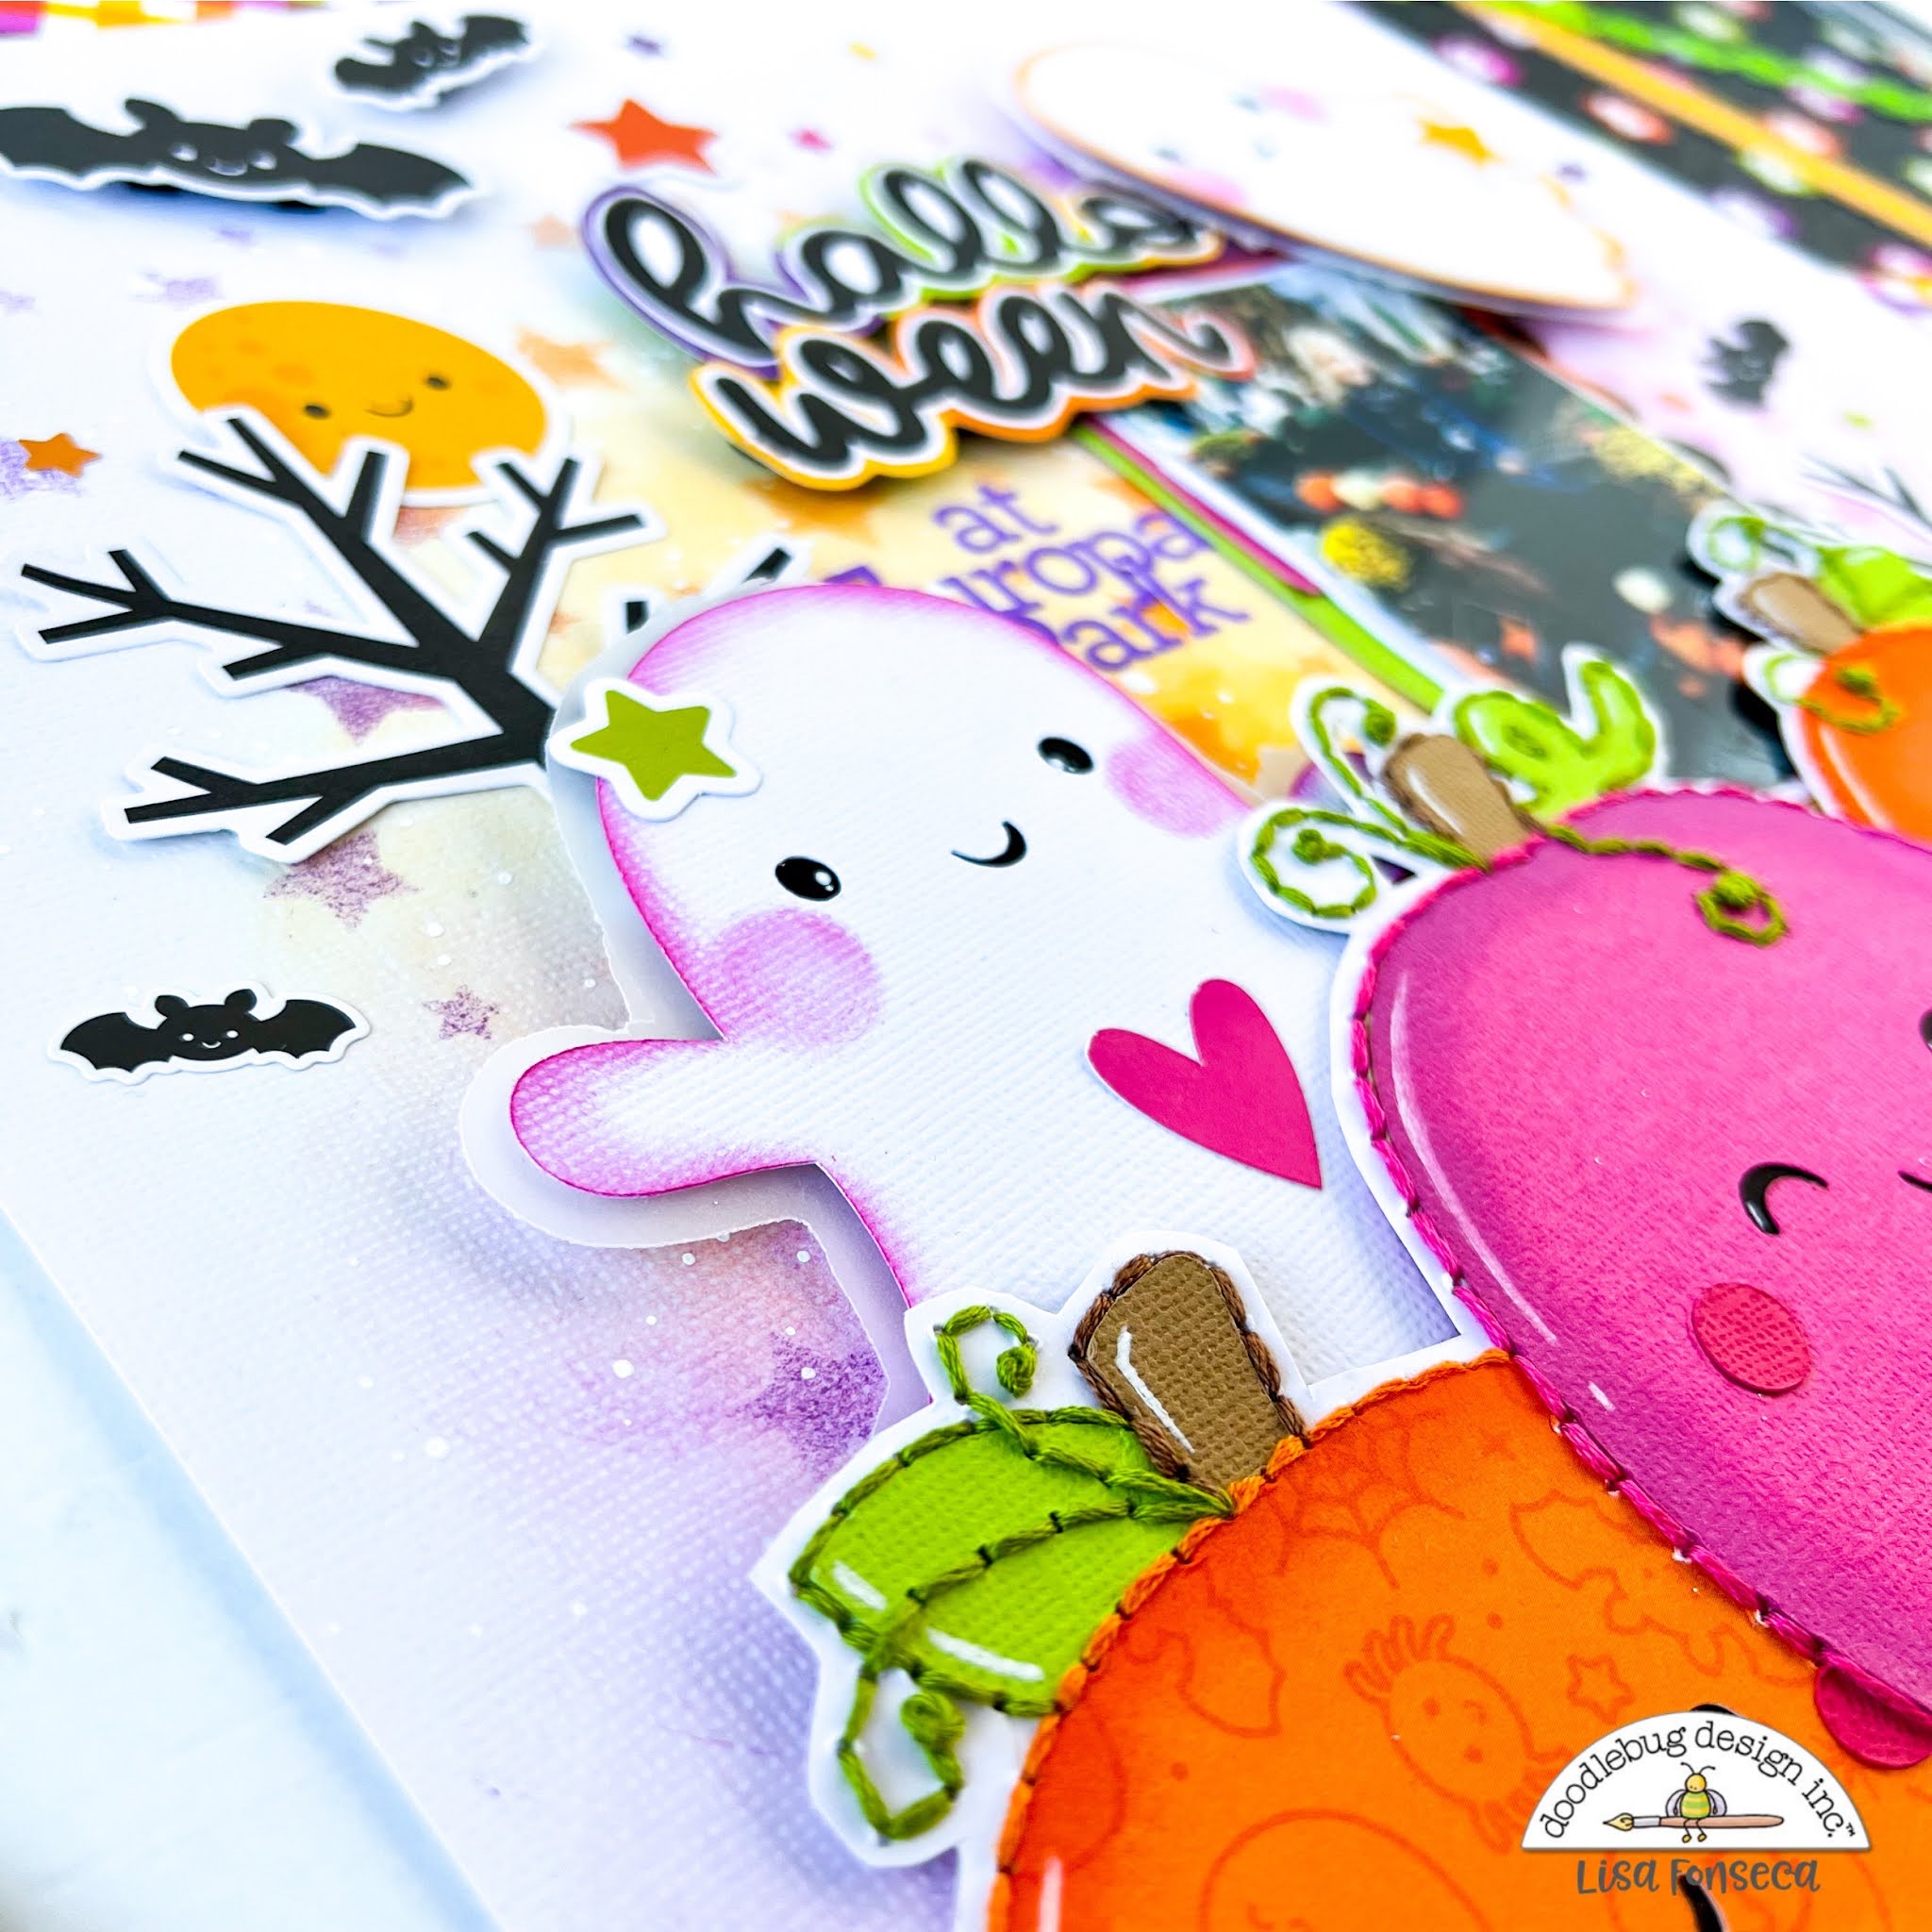
For this layout, I went to the Silhouette store and chose two of the older Halloween cutfiles from Doodlebug, the pumpkins and the ghosts. First, I let my machine cut out all of the pieces, then I assembled all the parts of the pumpkins and adhered them to some white cardstock. I hand-stitched around the whole design, using color-matching thread. To give the pumpkins more detail and dimension, I added shadows and highlights, using Distress Oxides and a white pen. Then I cut the design out, leaving white borders. 


For the background, I did some easy mixed media. First I added color using my Gelatos and a baby wipe and then I added some stars with a stencil an my Distress Oxides. To finish, and make it more interesting, I splattered white paint on top and let everything dry.


For the ghosts, I just added some color around the edges with my Oxides and then adhered them to some vellum using foam squares and ripped the paper around the ghost, leaving a distressed, transparent border.

I knew that I wanted the pumpkins to be on the bottom of the page but I didn't really know, where I was going to place my ghosts.

After some playing around, I decided how I wanted to place the photo and the ghosts and then I started going through the die cuts and stickers to find some more things to add. 
I really love the naked, spooky trees in the background and the little bats, flying around... ;)


To top the layout off, I added some colorful stars, a worm sticker and a cute little shaker pumpkin on top of the other pumpkins. LOVE IT! :)


I hope you like how the layout turned out. Thank you so much for stopping by and see you soon! :)


Facebook
 Instagram YouTube


Doodlebug products used:

Happy Haunting collection


Cutfiles:

- Pumpkins - Pumpkin Spice 

- Ghosts - Pumpkin Party


Other products used:

Embroidery thread

Distress Oxides

Star Stencil

Gelatos


Latest Instagrams

© Lisa Fonseca. Design by FCD.