Summer Layout for Doodlebug Design
Monday, September 19, 2022
Summer's slowly moving to the end but I'm still super motivated to scrap summer photos, even when seeing Halloween stuff everywhere... :)
For this project, I'm using the wonderful Seaside Summer collection and scrapping a photo from three years ago, when I spent time with my friends at the Bahamas.
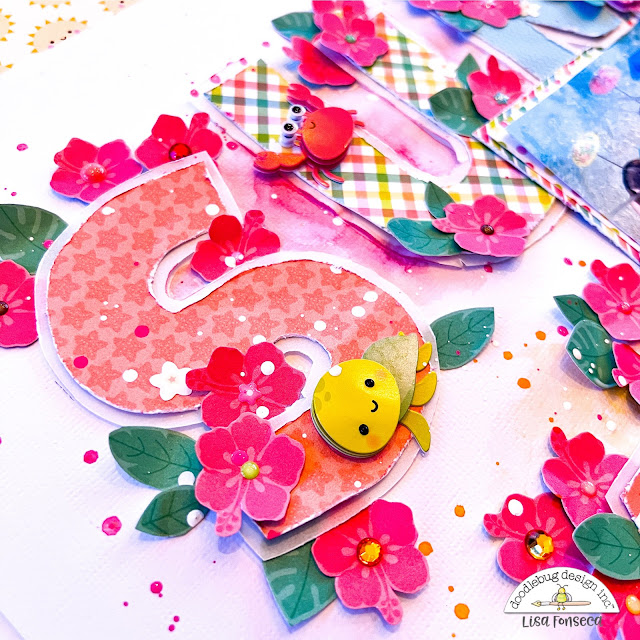
When Starting this layout, I went through the papers and chose a red one with Hibiscus flowers and a green one with leaves. I already cut out a ton of shells for a layout, a few weeks ago, so now I did it again. I fussy cut out a lot of red flowers and green leaves. I wanted to fill the page with them.
After cutting out the flowers, I chose patterned papers and cut out letters to write the word SUMMER. I distressed the edges and adhered them to some vellum. Then I cut them out again, leaving a vellum border and distressing the edges again.
I adhered the letters to my white cardstock using thin foam tape and then started adding my flowers. At first, I just placed them everywhere I wanted, to see if I liked it, before adhering them permanently to my page with liquid glue. I gave them some dimension, by pressing the center of the flowers down and by bending the leaves.
Then I chose some Doodle Pops to add to my page. I wanted to use this cocktail glass with the straw... Even though I think it's too detailed in that spot of the page, I couldn't not use it... it was just too perfect with the photo. :)
Then I used some sea animals and the sand castle.
To give the flowers a pop of color, I used enamel dots and jewels to adhere to their centers.
To finish the layout, I added watercolor in two places and splattered some paint.
I think the layout turned out fun and cute and colorful.
I hope you're inspired to do some fussy cutting, It always pays out in the end... :)
Have a good week, see you!
Youtube / Facebook / Instagram
Doodlebug products used:
Summer Seaside collection
Other products used:
Watercolors
White acrylic marker
Beach Sand Sun Layout for Doodlebug Design
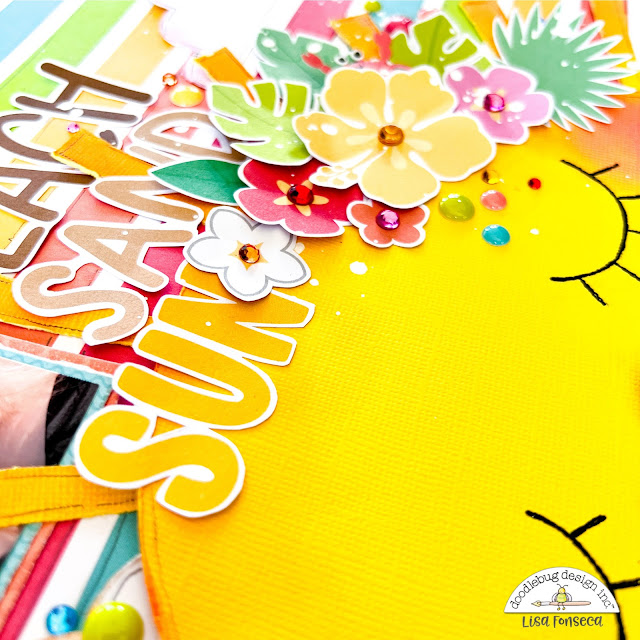
Guys, I can't get over how much I love summer!!! :) The sun, the colors, the heat, the good times, the laughters, the blue sky... YESSS! :) I loved creating this new colorful layout using the SEASIDE SUMMER collection with one of my latest beach photos.
For this layout, I wanted to use this cool striped patterned paper as a background. I like using backgrounds like this and placing things on the different stripes. Here, I had the idea of placing cute little clouds on the stripes and decorating them with flower clusters.
I started by cutting out the sun and adhering it to the bottom. Then I drew clouds, cut them out and placed them as I wanted them. I distressed the edges of the sun and clouds and also used my Distress Oxides on them to give everything more dimension and interest.
I drew some lashes on the sun and gave it a nose and then I chose the flowers and leaves I wanted to use. I cut away some of the white around all of the die-cut pieces and then placed them on my background. I cut more and more (always more... :), until I was happy with the way it looked. I adhered them using liquid glue, after giving them a bit of shape, by pressing my fingers in the middle of each flower and leaf.
I wanted to give the sun, clouds and stripes on the background even more definition. So I used a pencil and drew thin scribbly lines next to the edges of each shape.
Then I matted my photo, added it to my layout and also added a title. The title are word die-cuts from the Chit&Chat pack. I cut off some white around those too. To finish, I added some stickers to the clusters, a toucan, a crab and a shell and I also added enamel dots and jewels. Some white sprinkles and... voilà, layout done!
I hope you like the idea and are inspired to use this cool striped paper. :)
Thanks for stopping by,
Doodlebug products used:
Seaside Summer collection
Yellow cardstock
White cardstock
Other products used:
Pencil
Acrylic pen (Montana Marker)
Subscribe to:
Comments (Atom)


